Modeling & Materials

Weekly Design Challenge Template

Leelah Al-Jarrah


Module 1


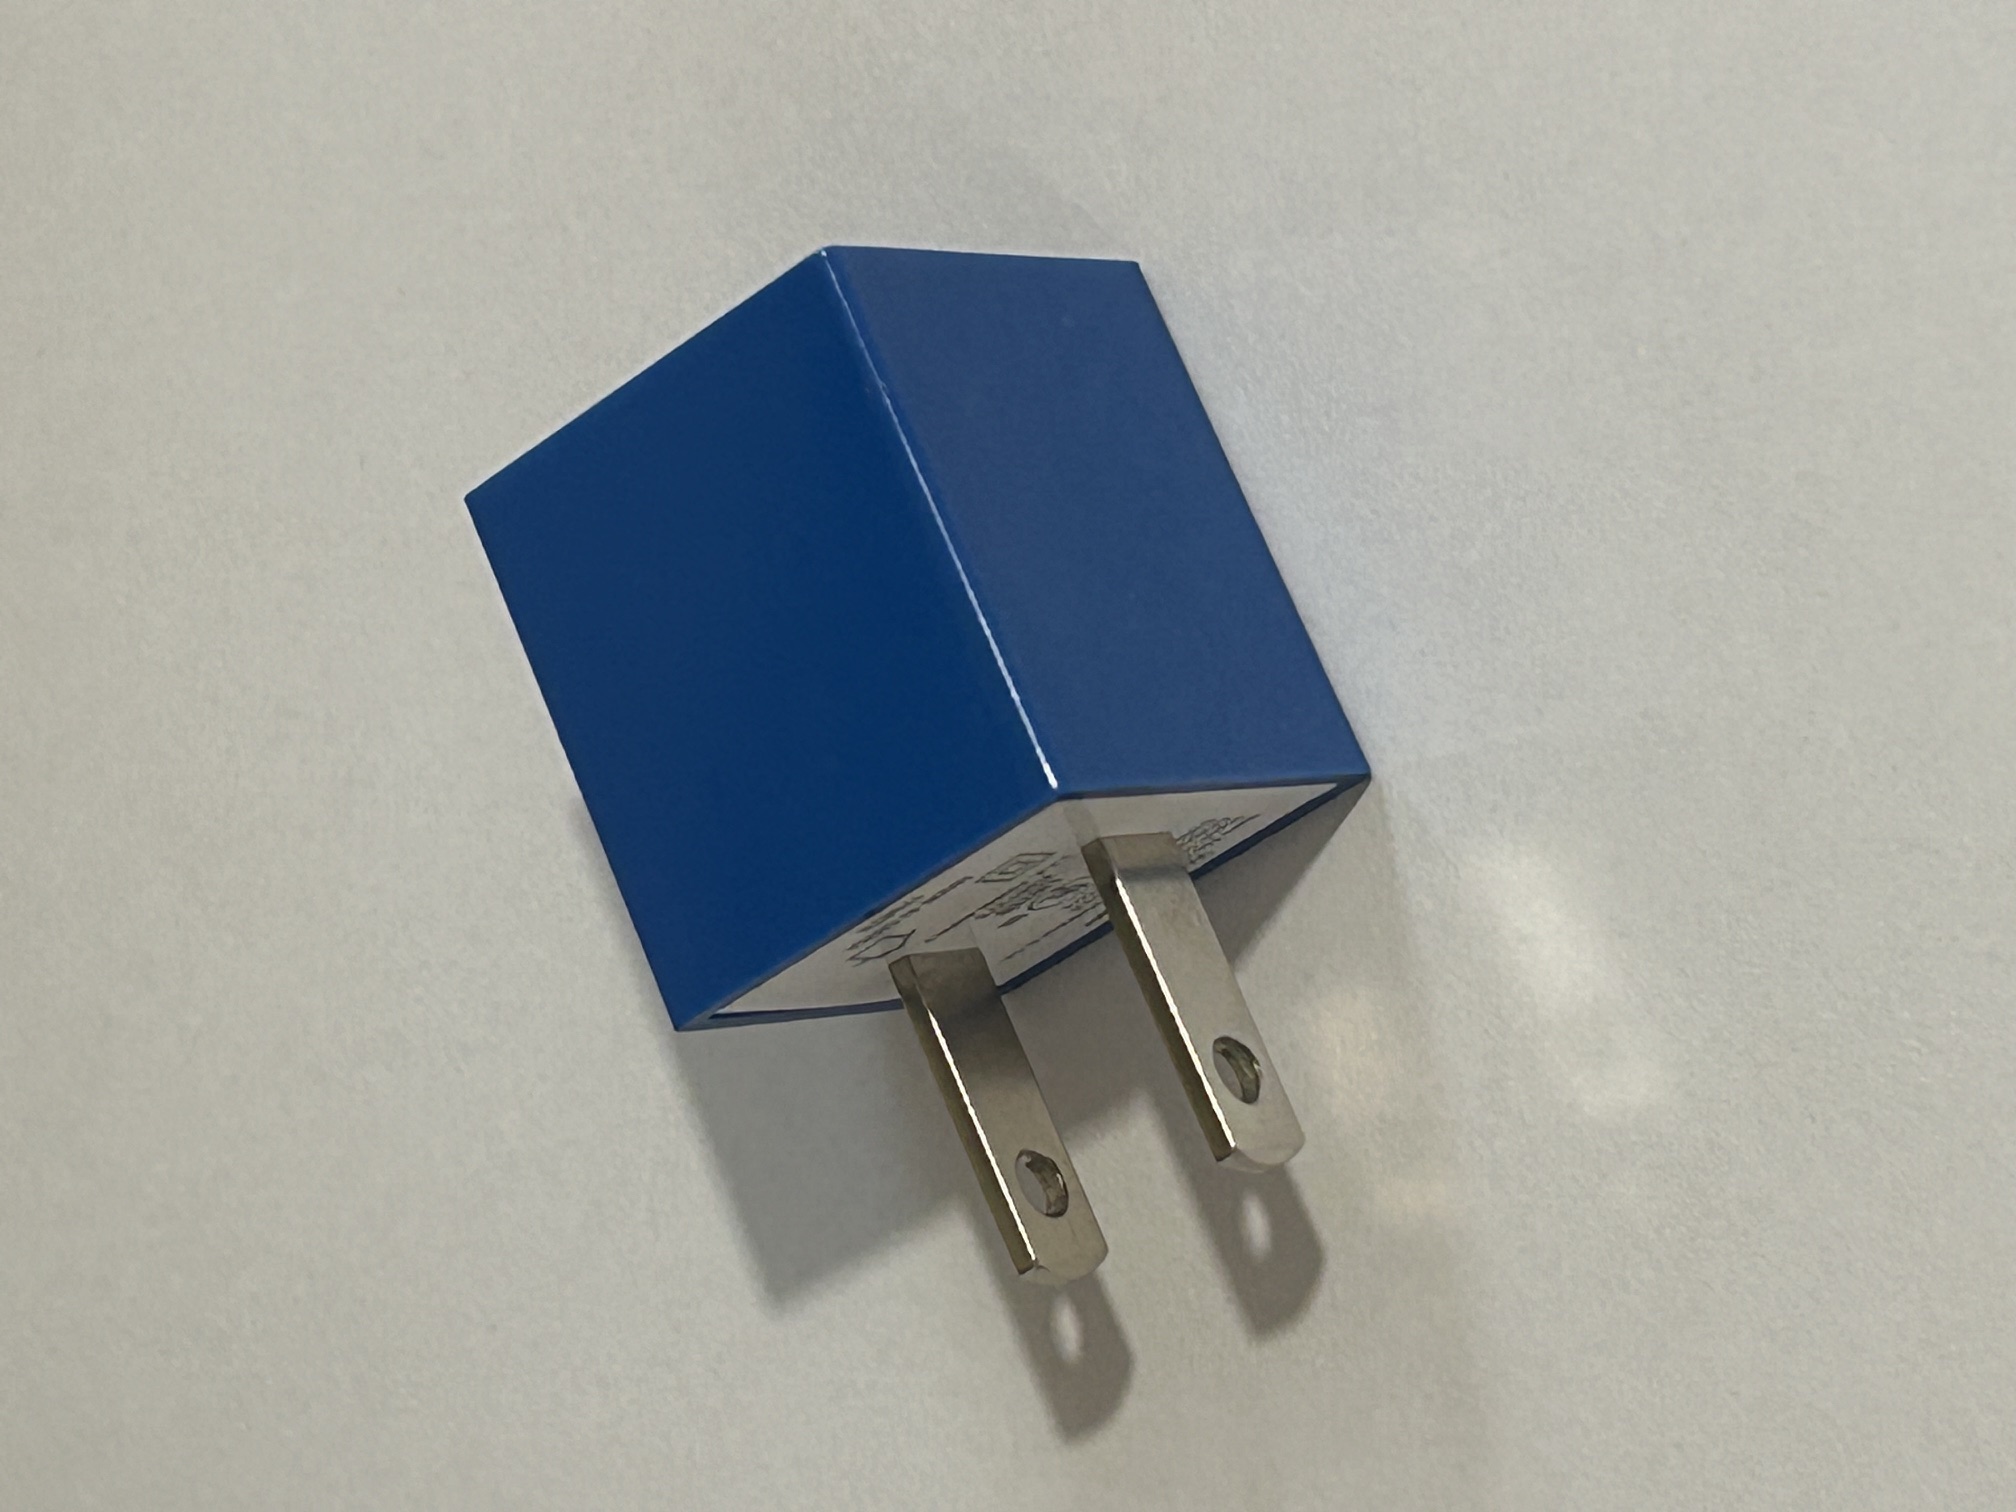
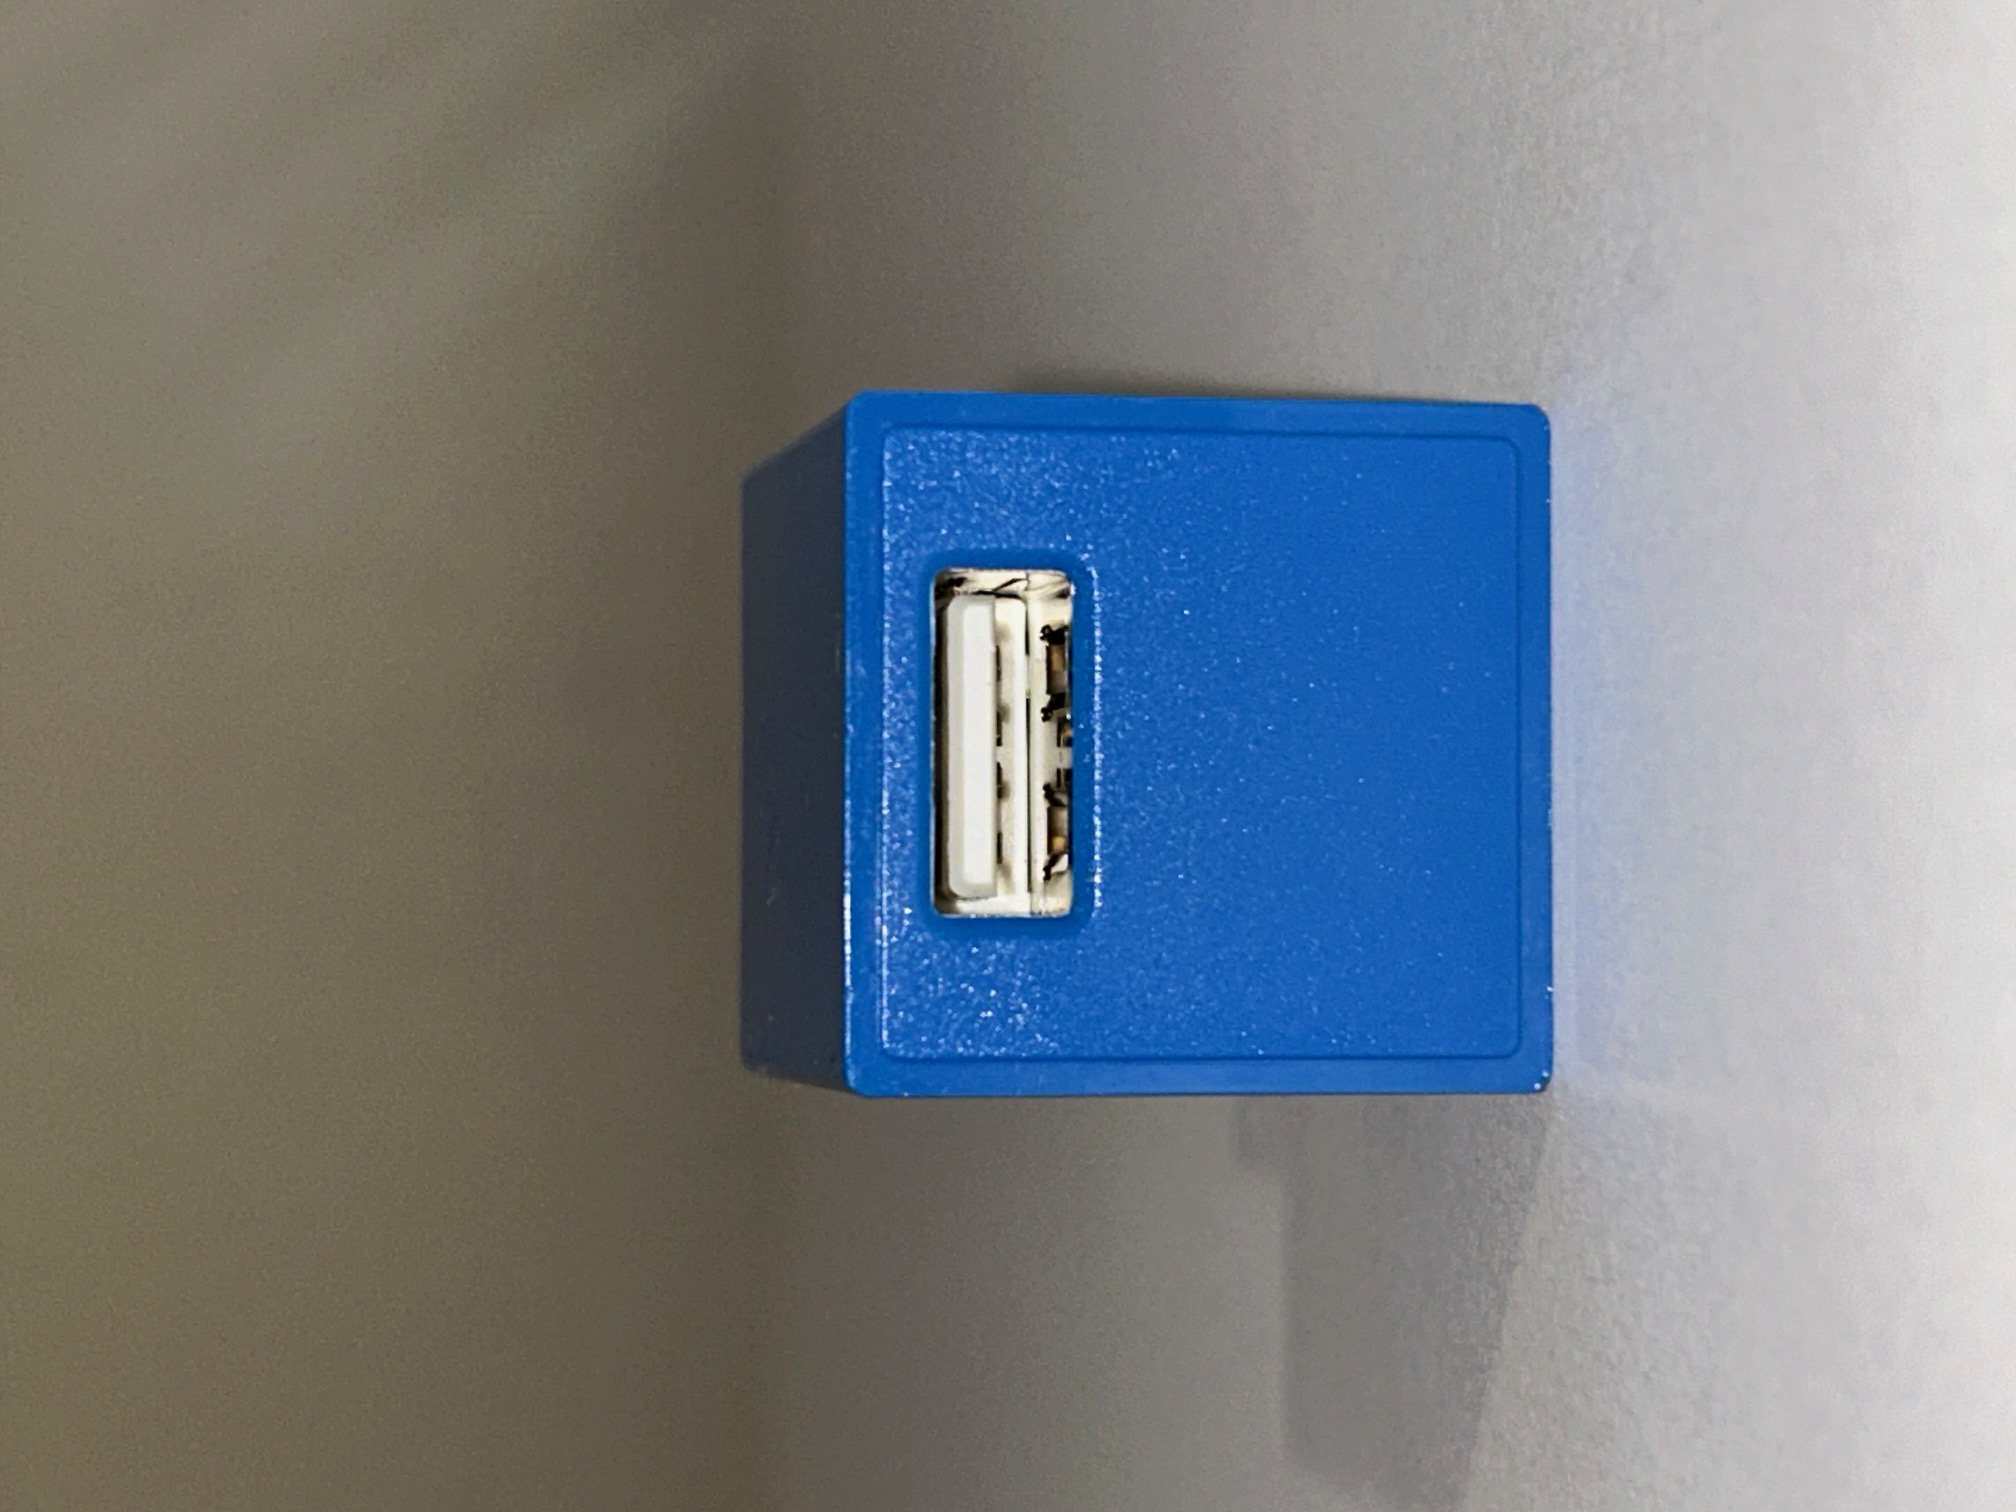
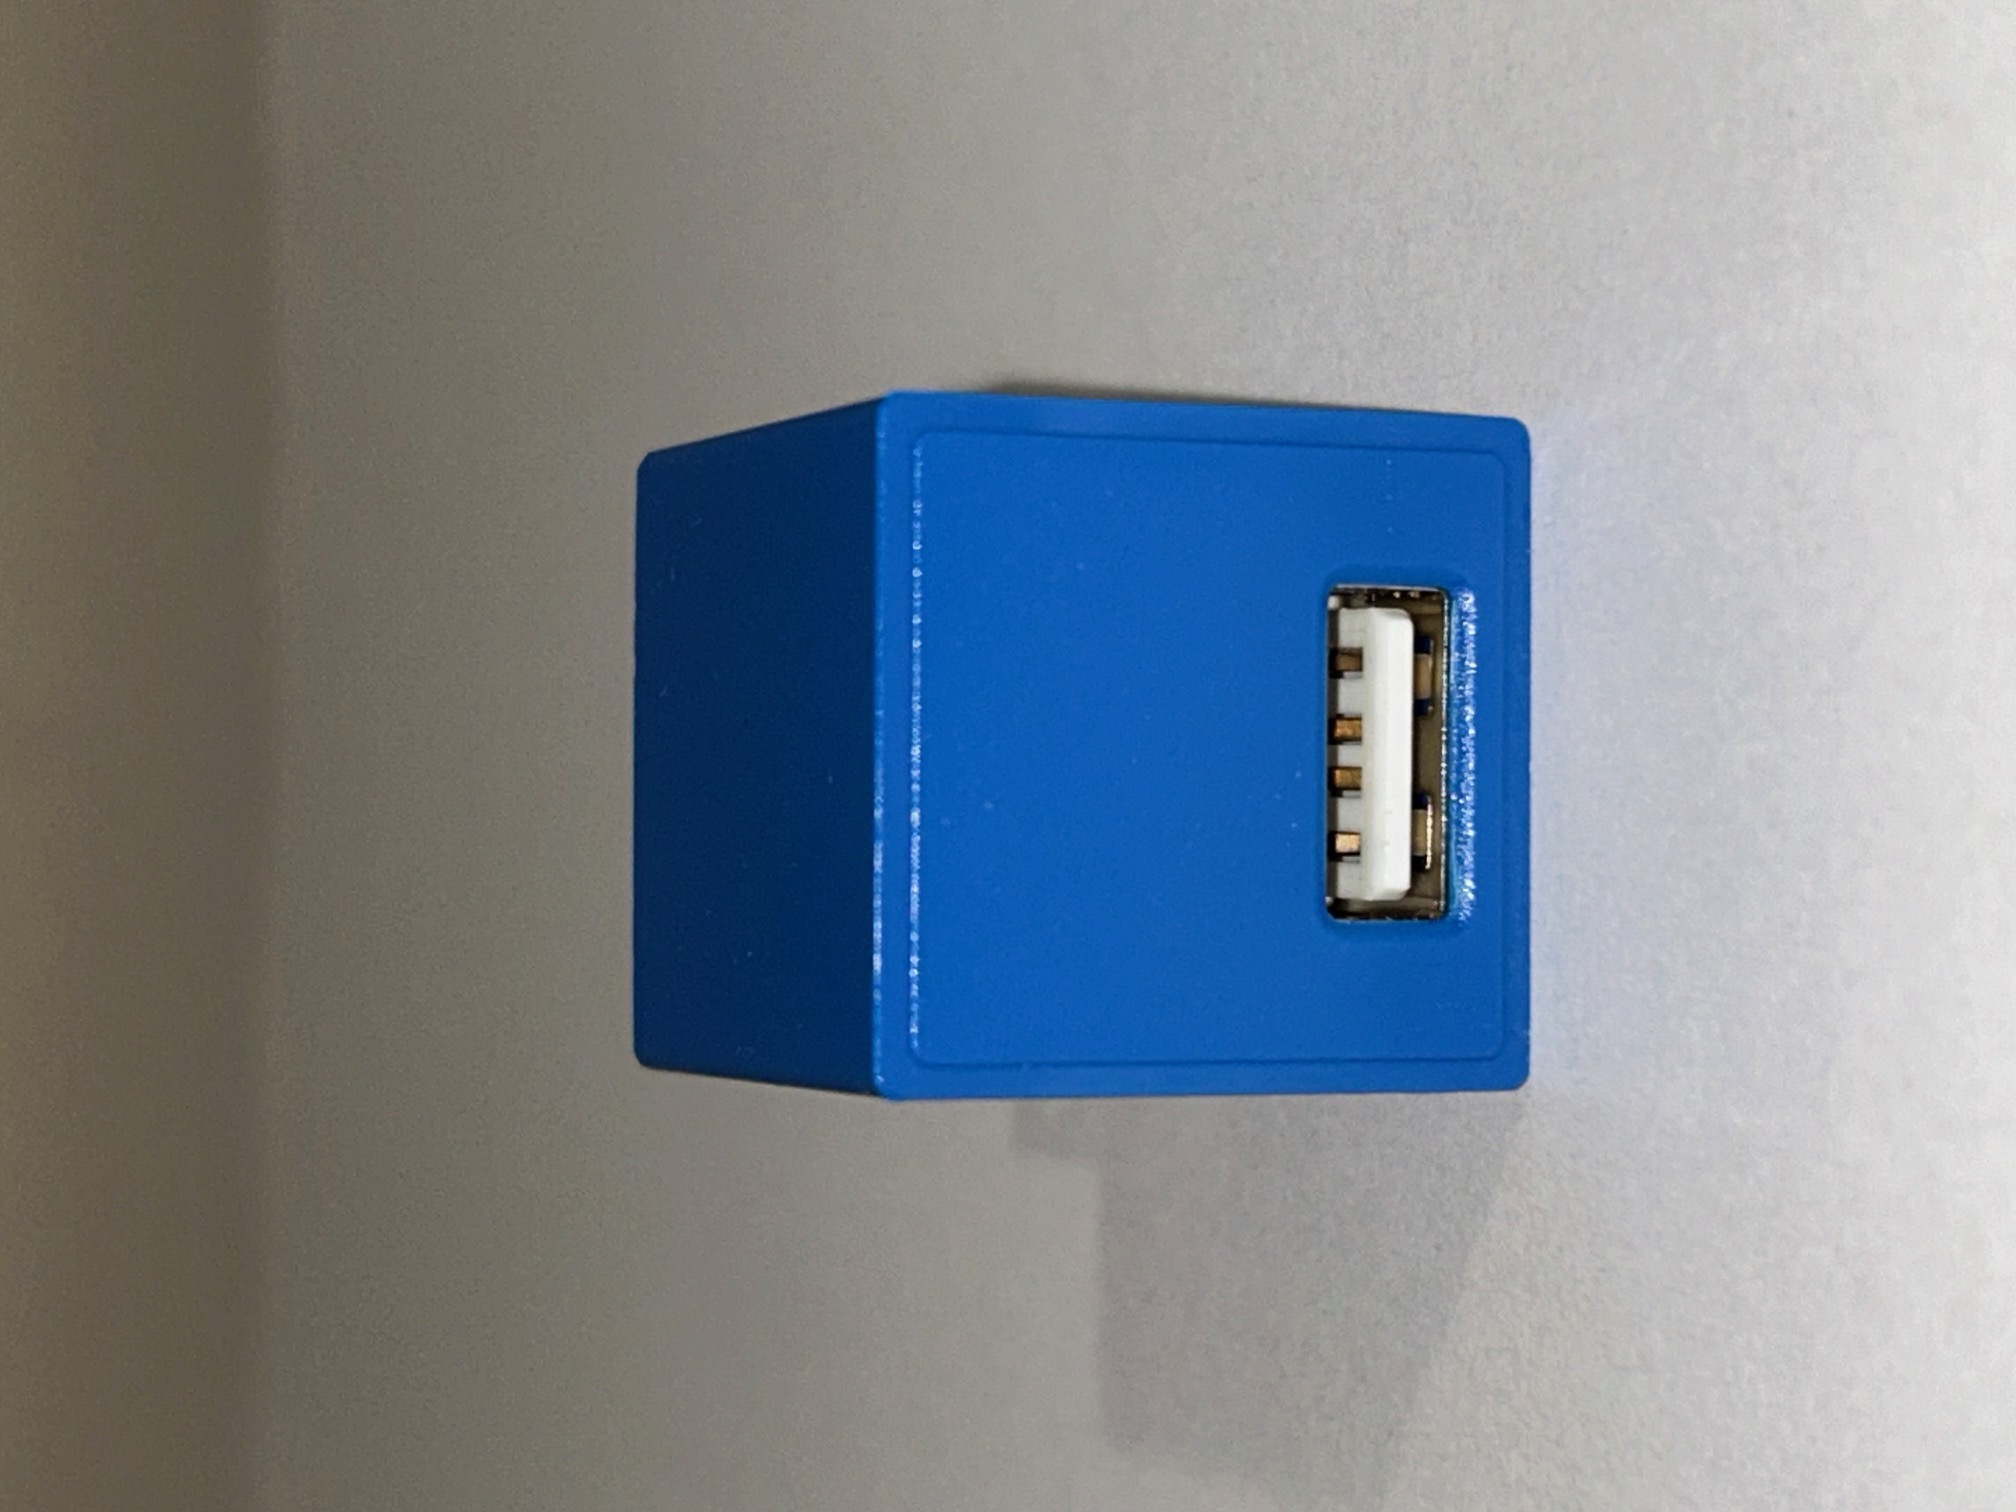
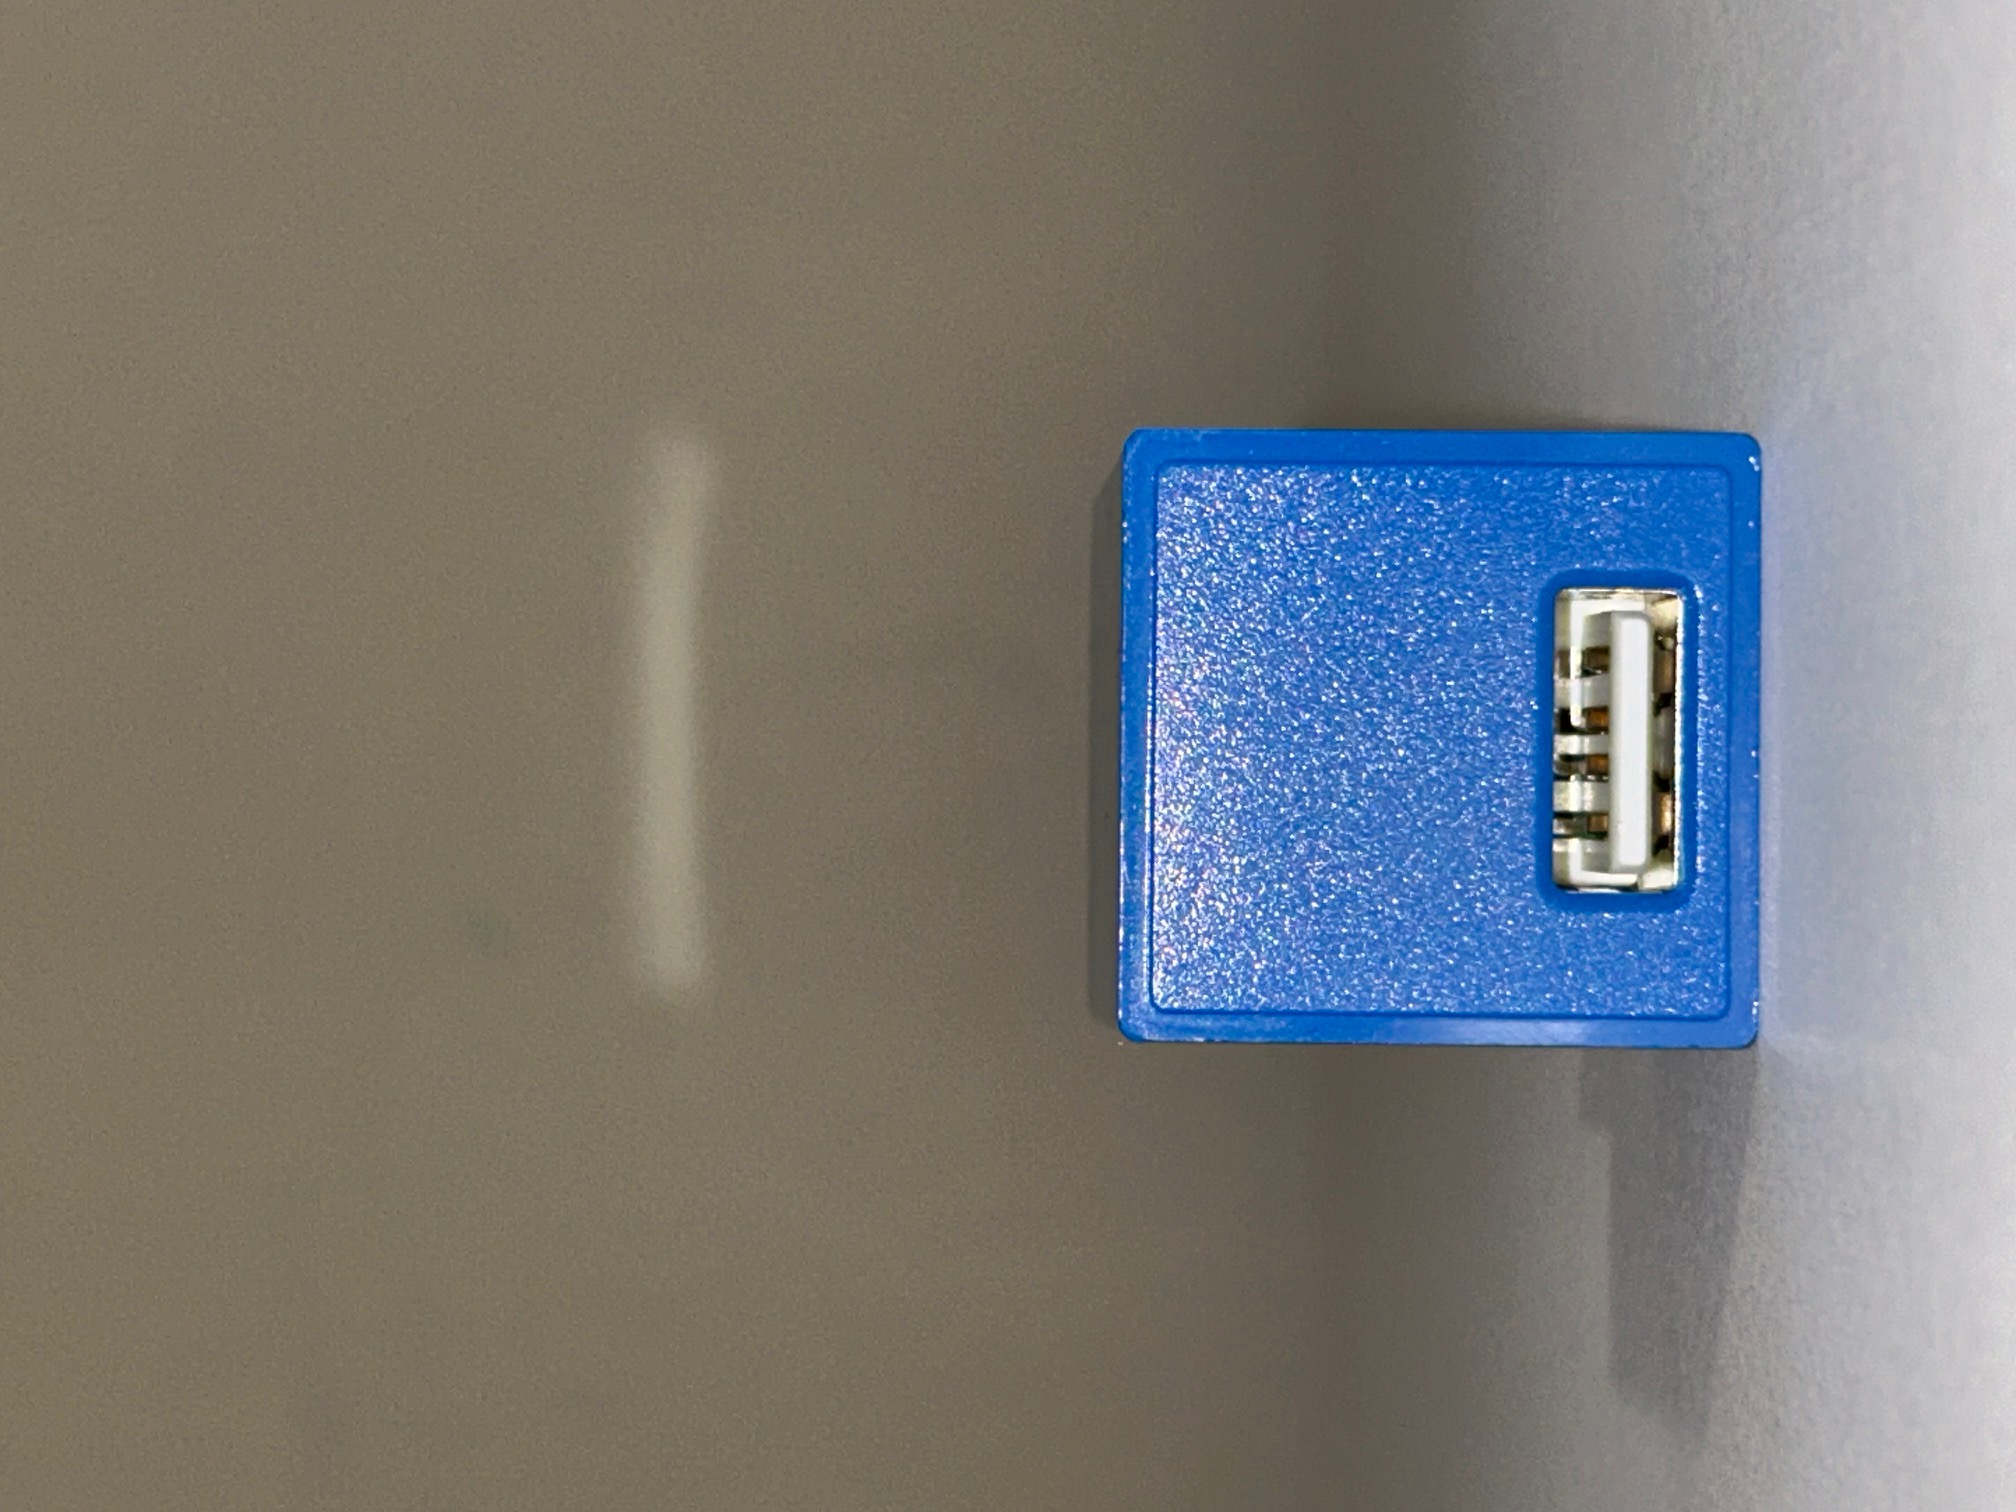
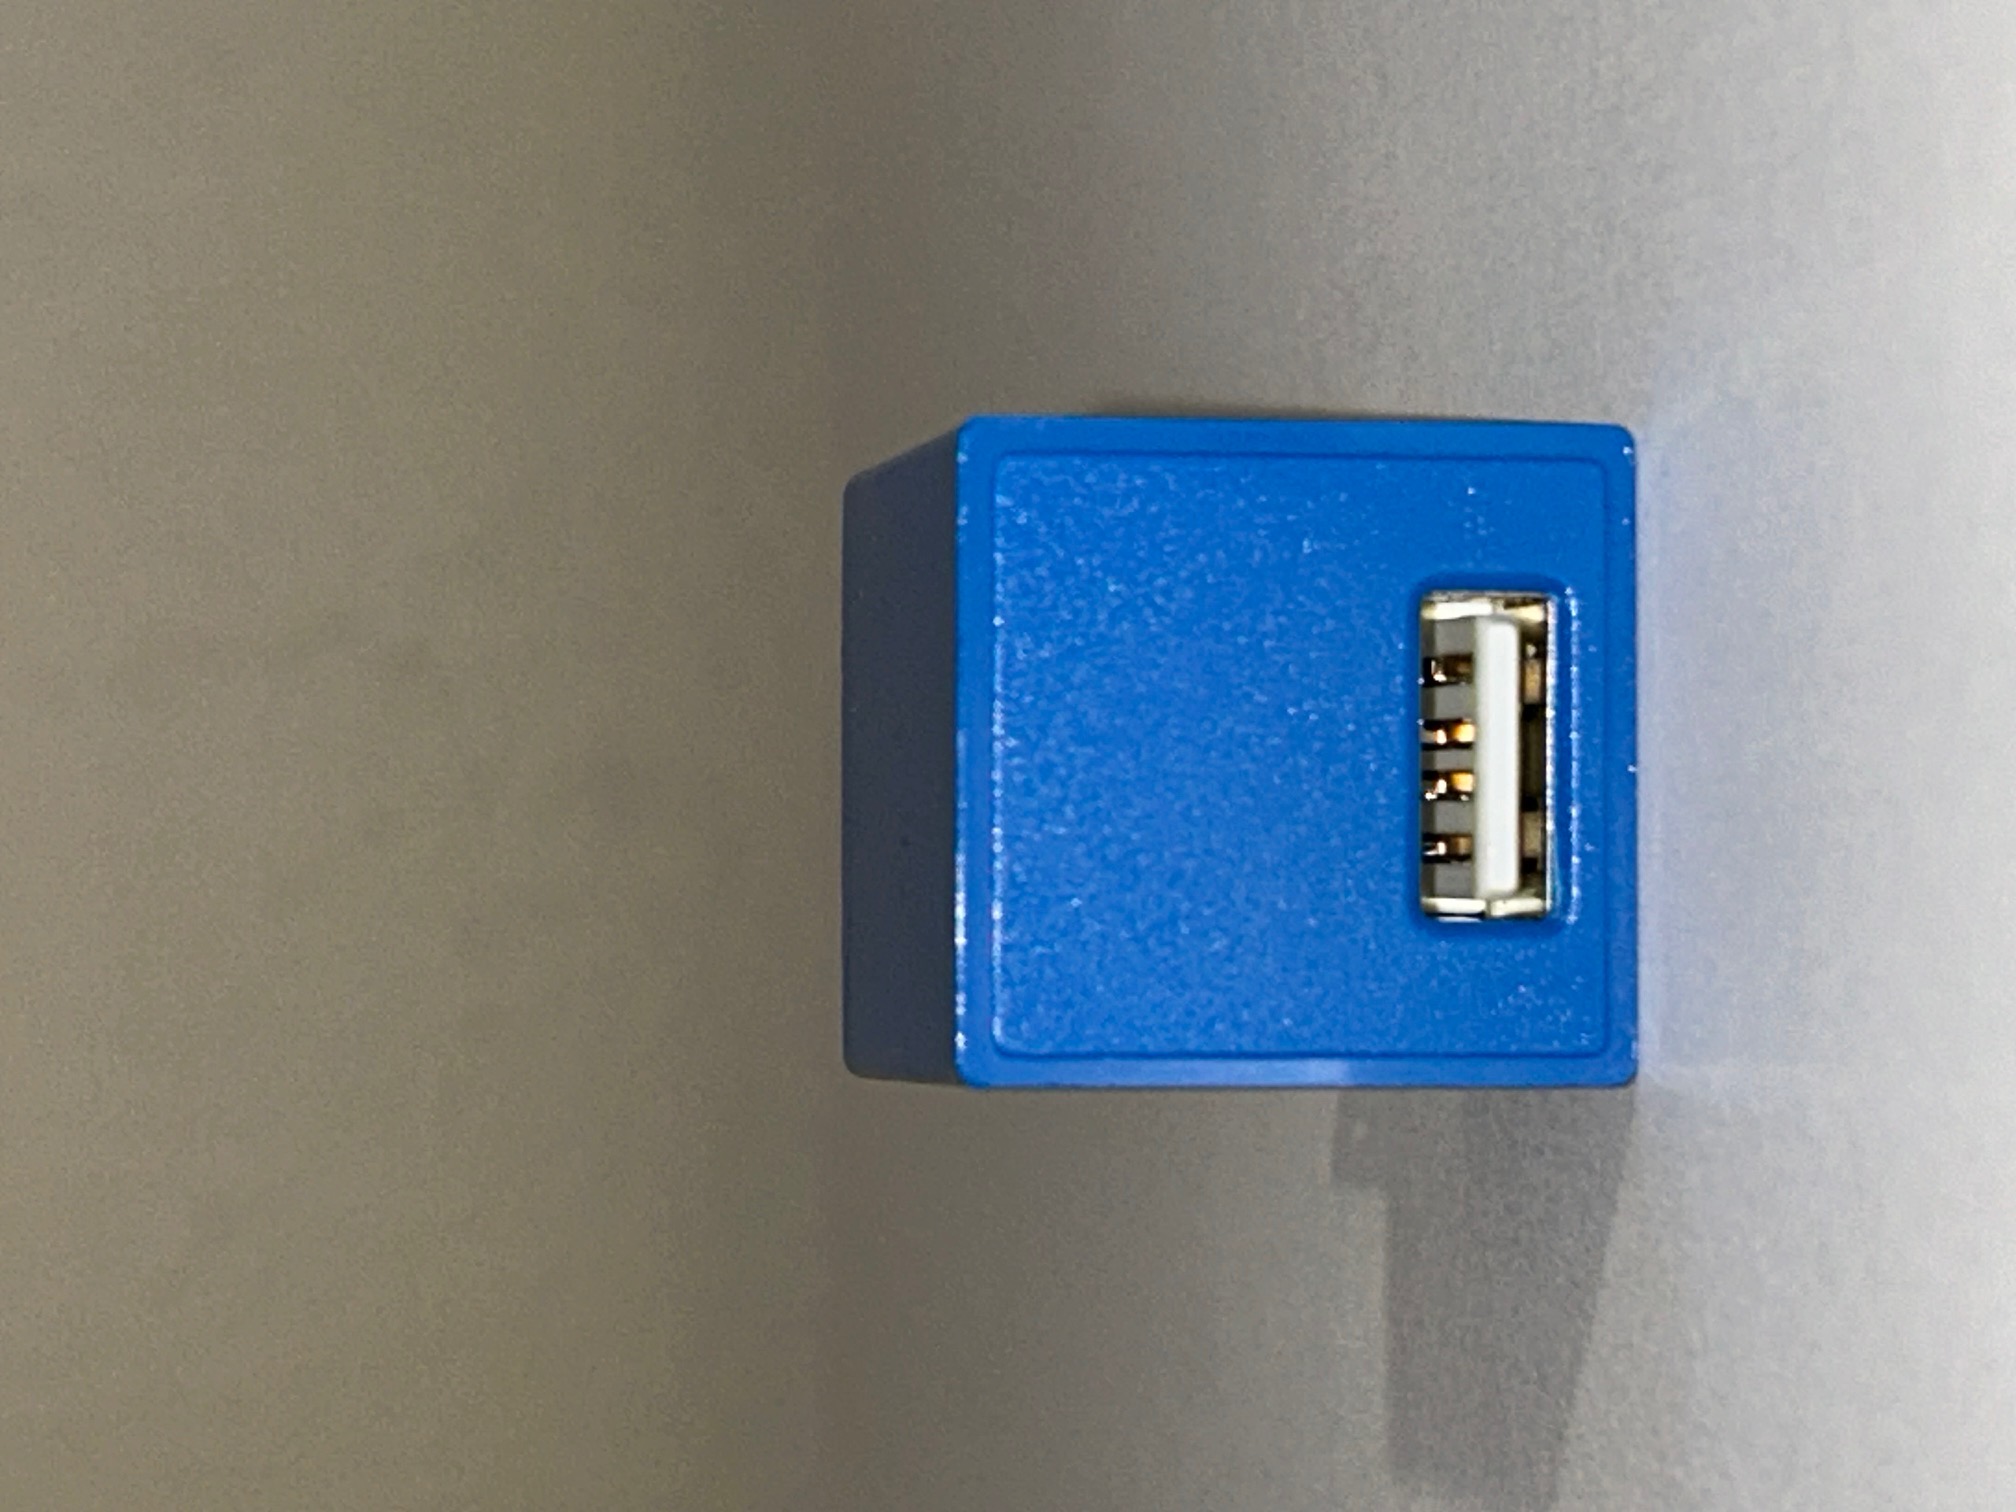
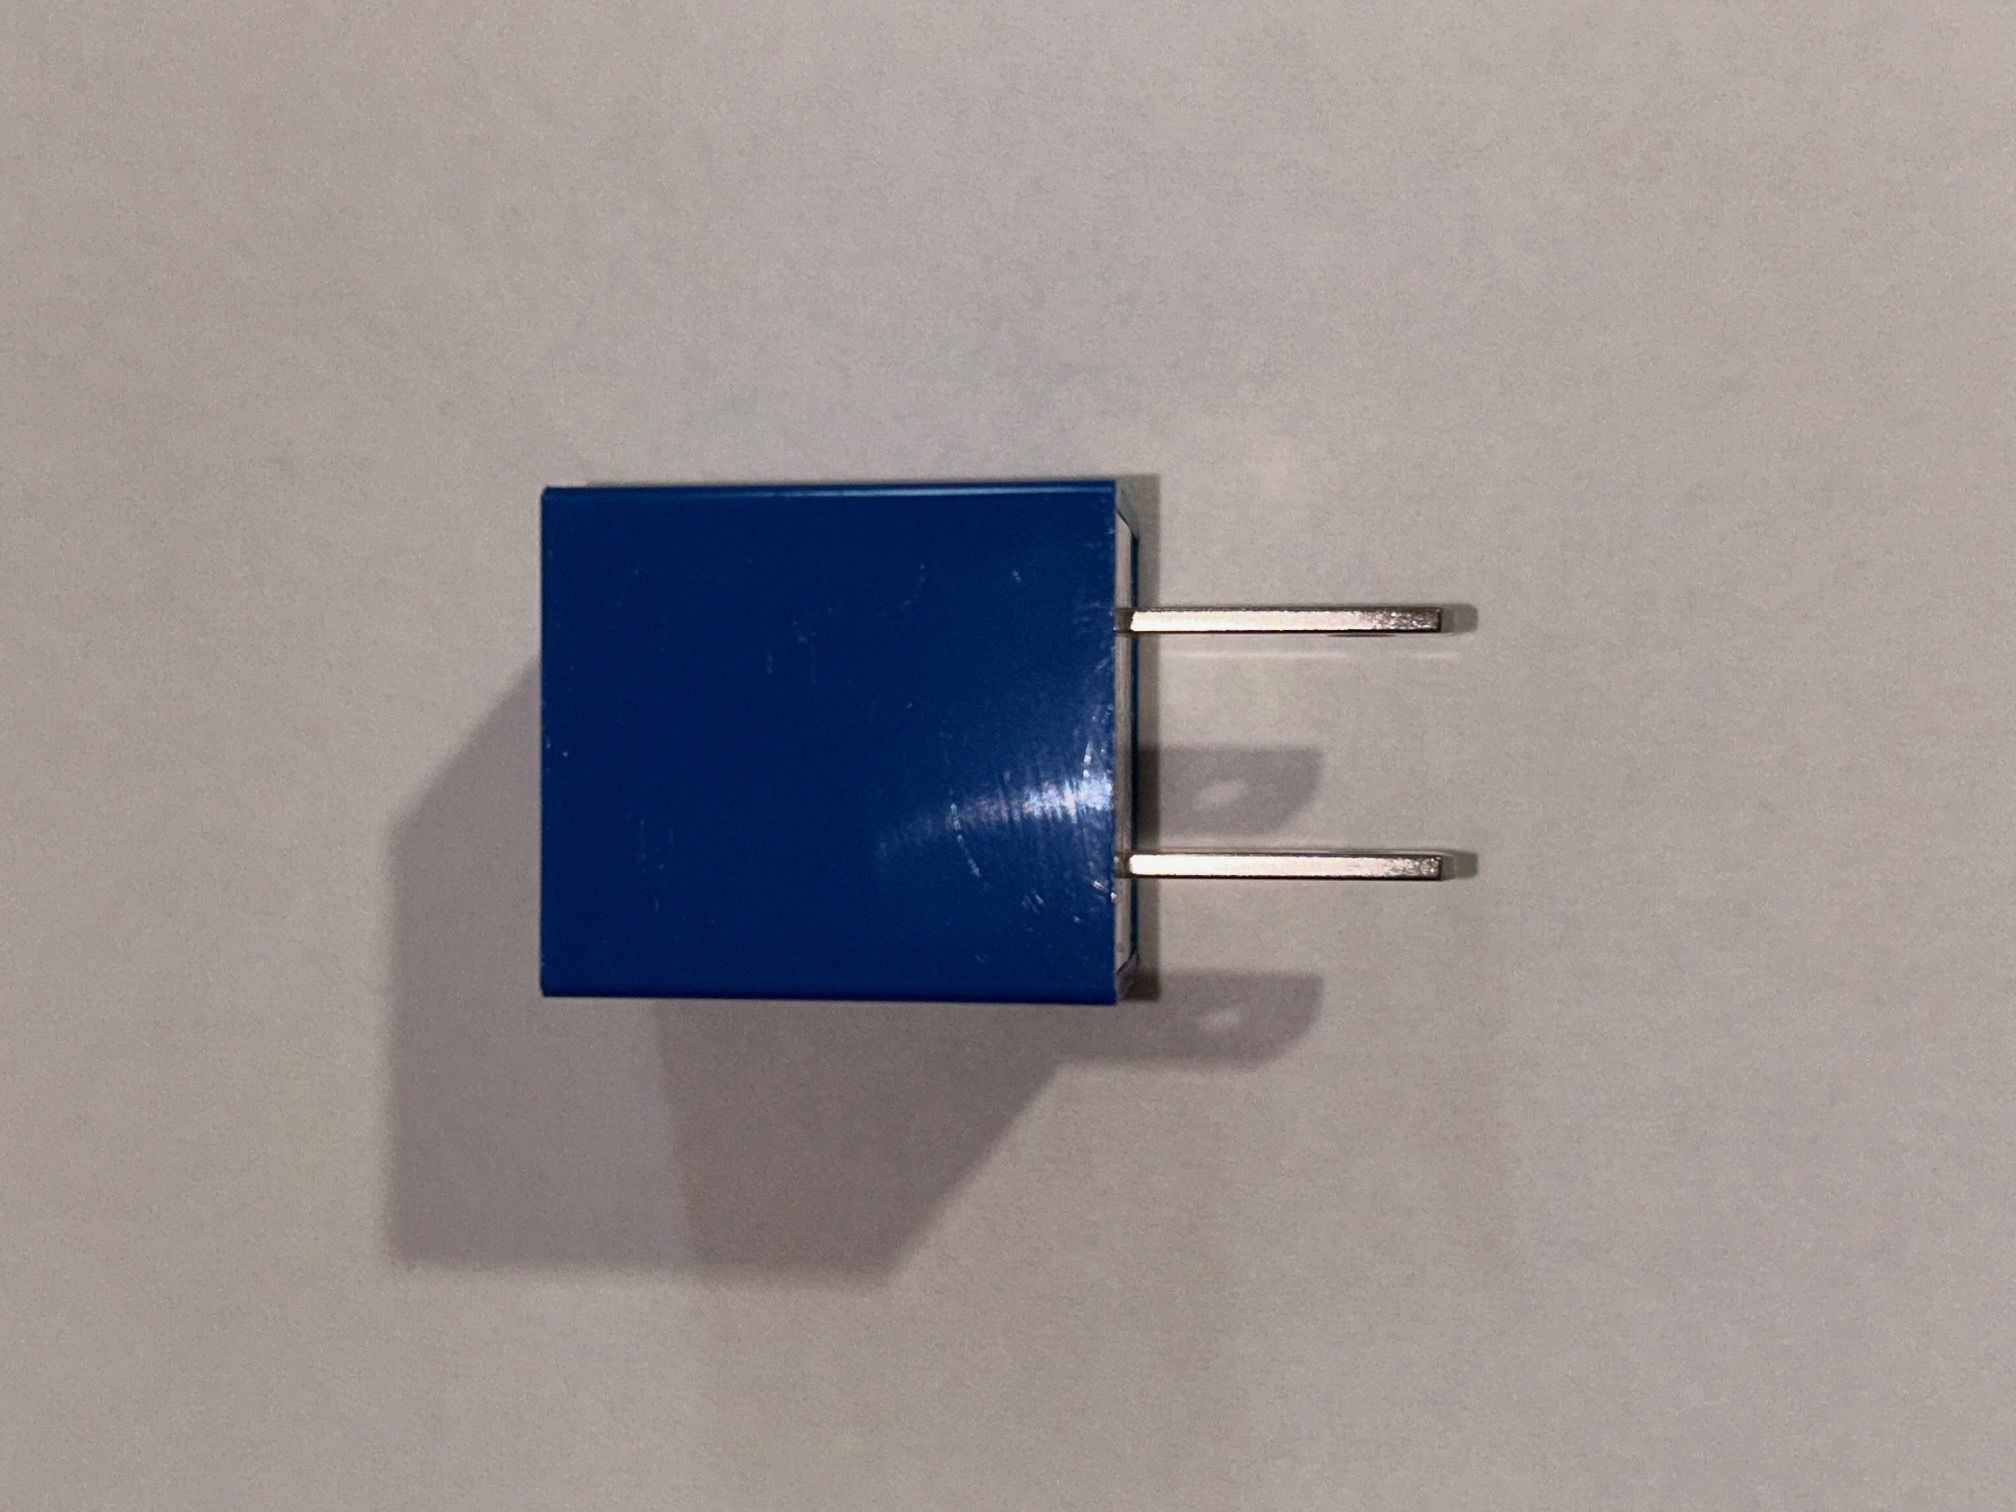
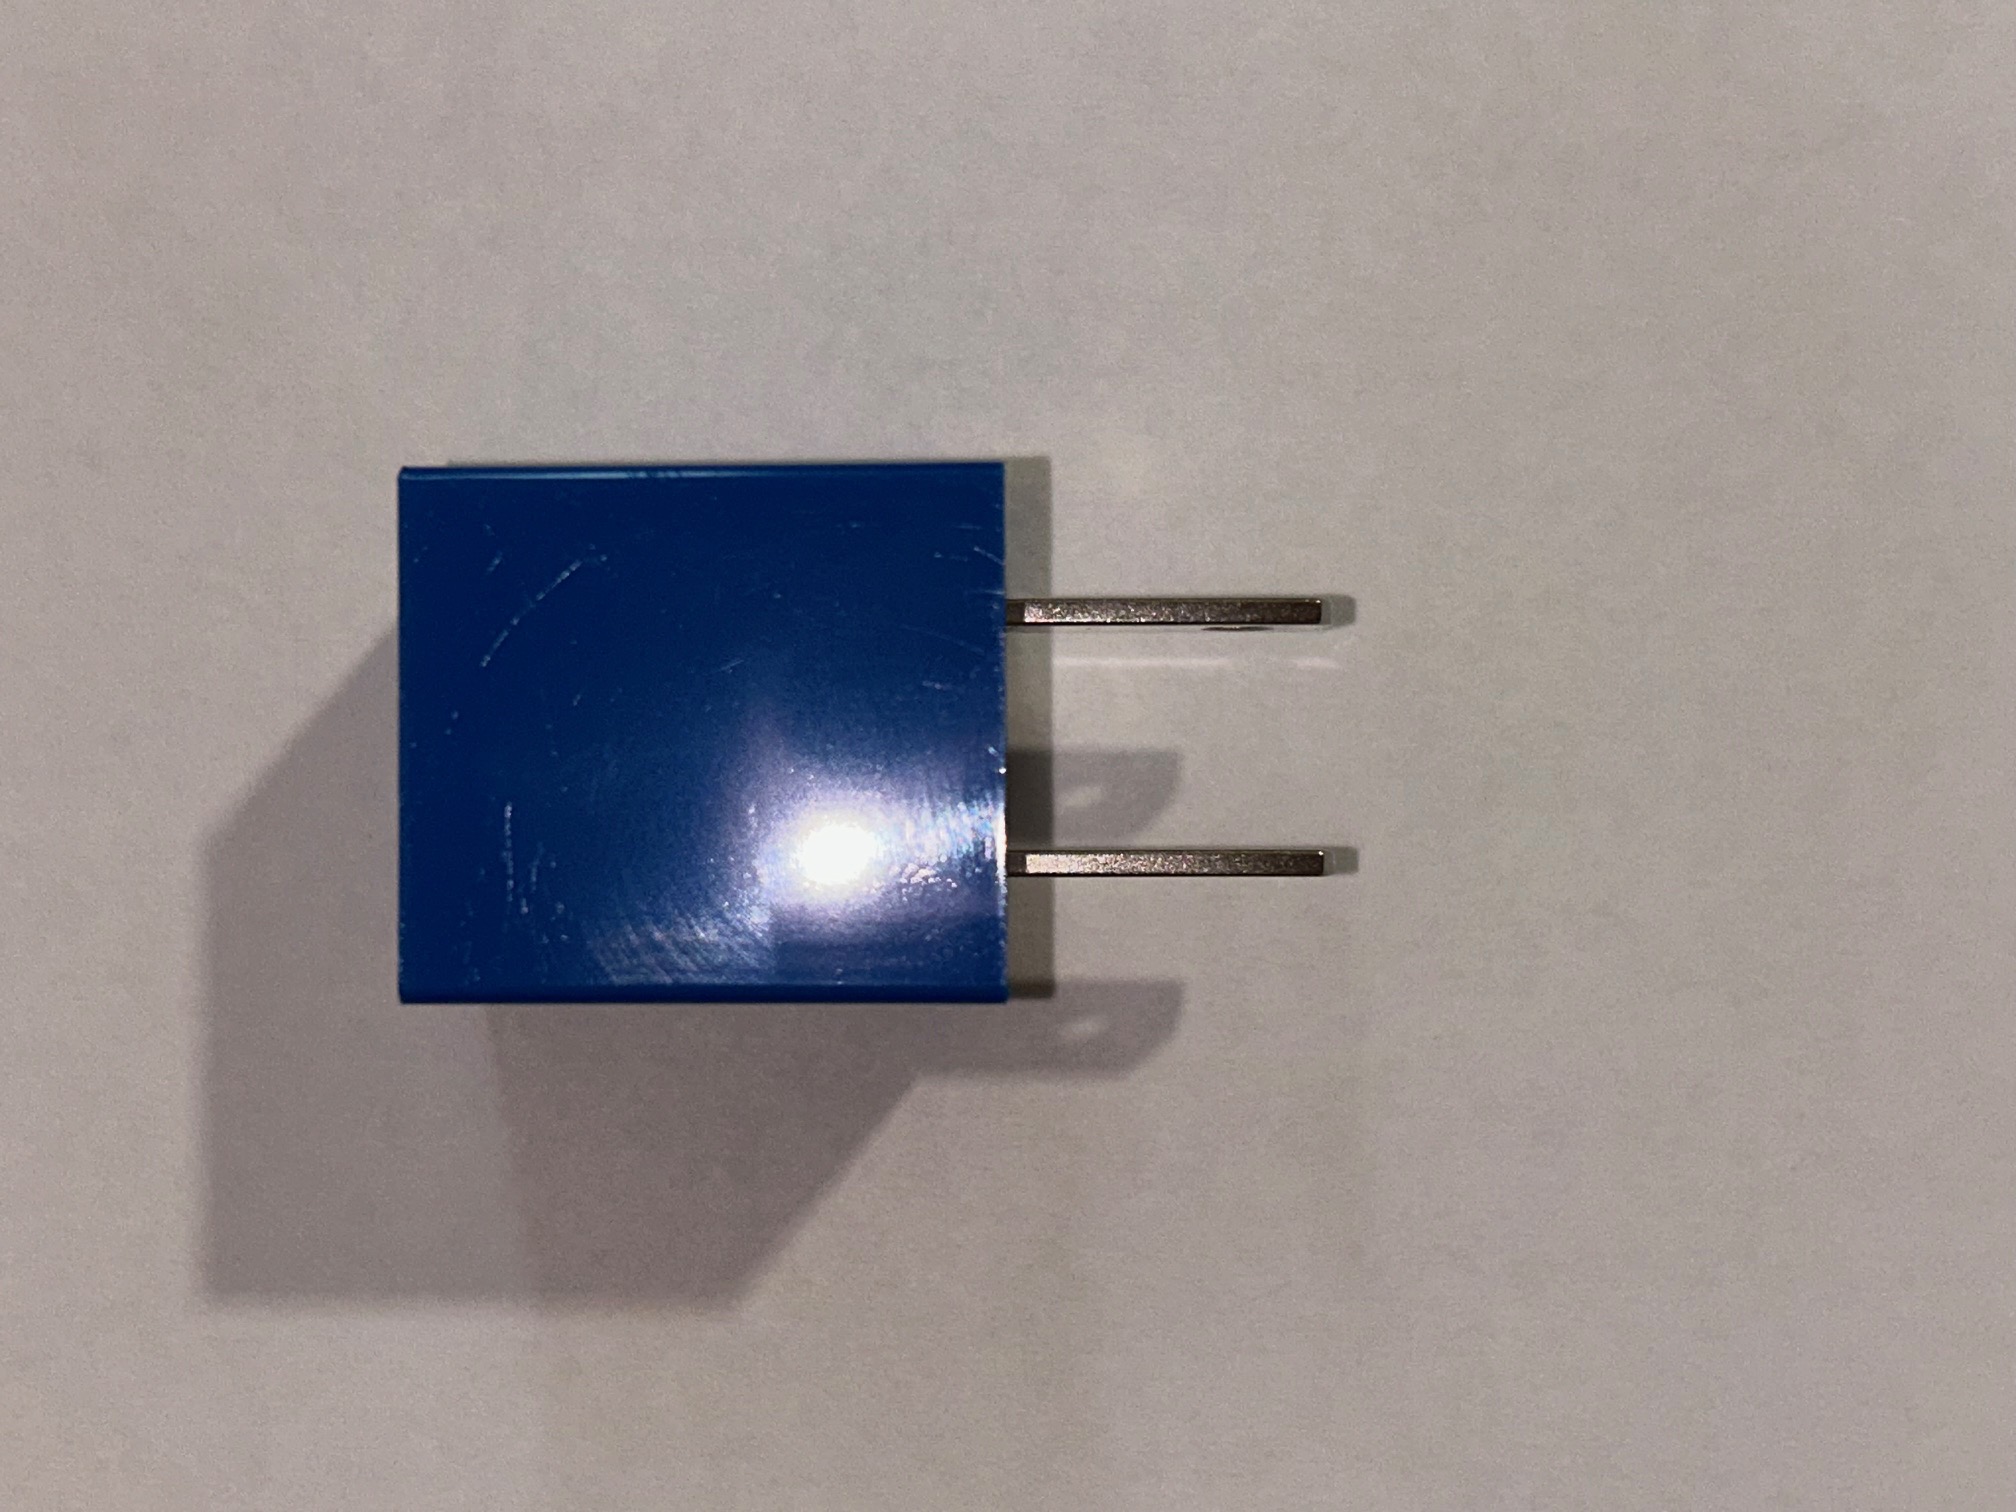
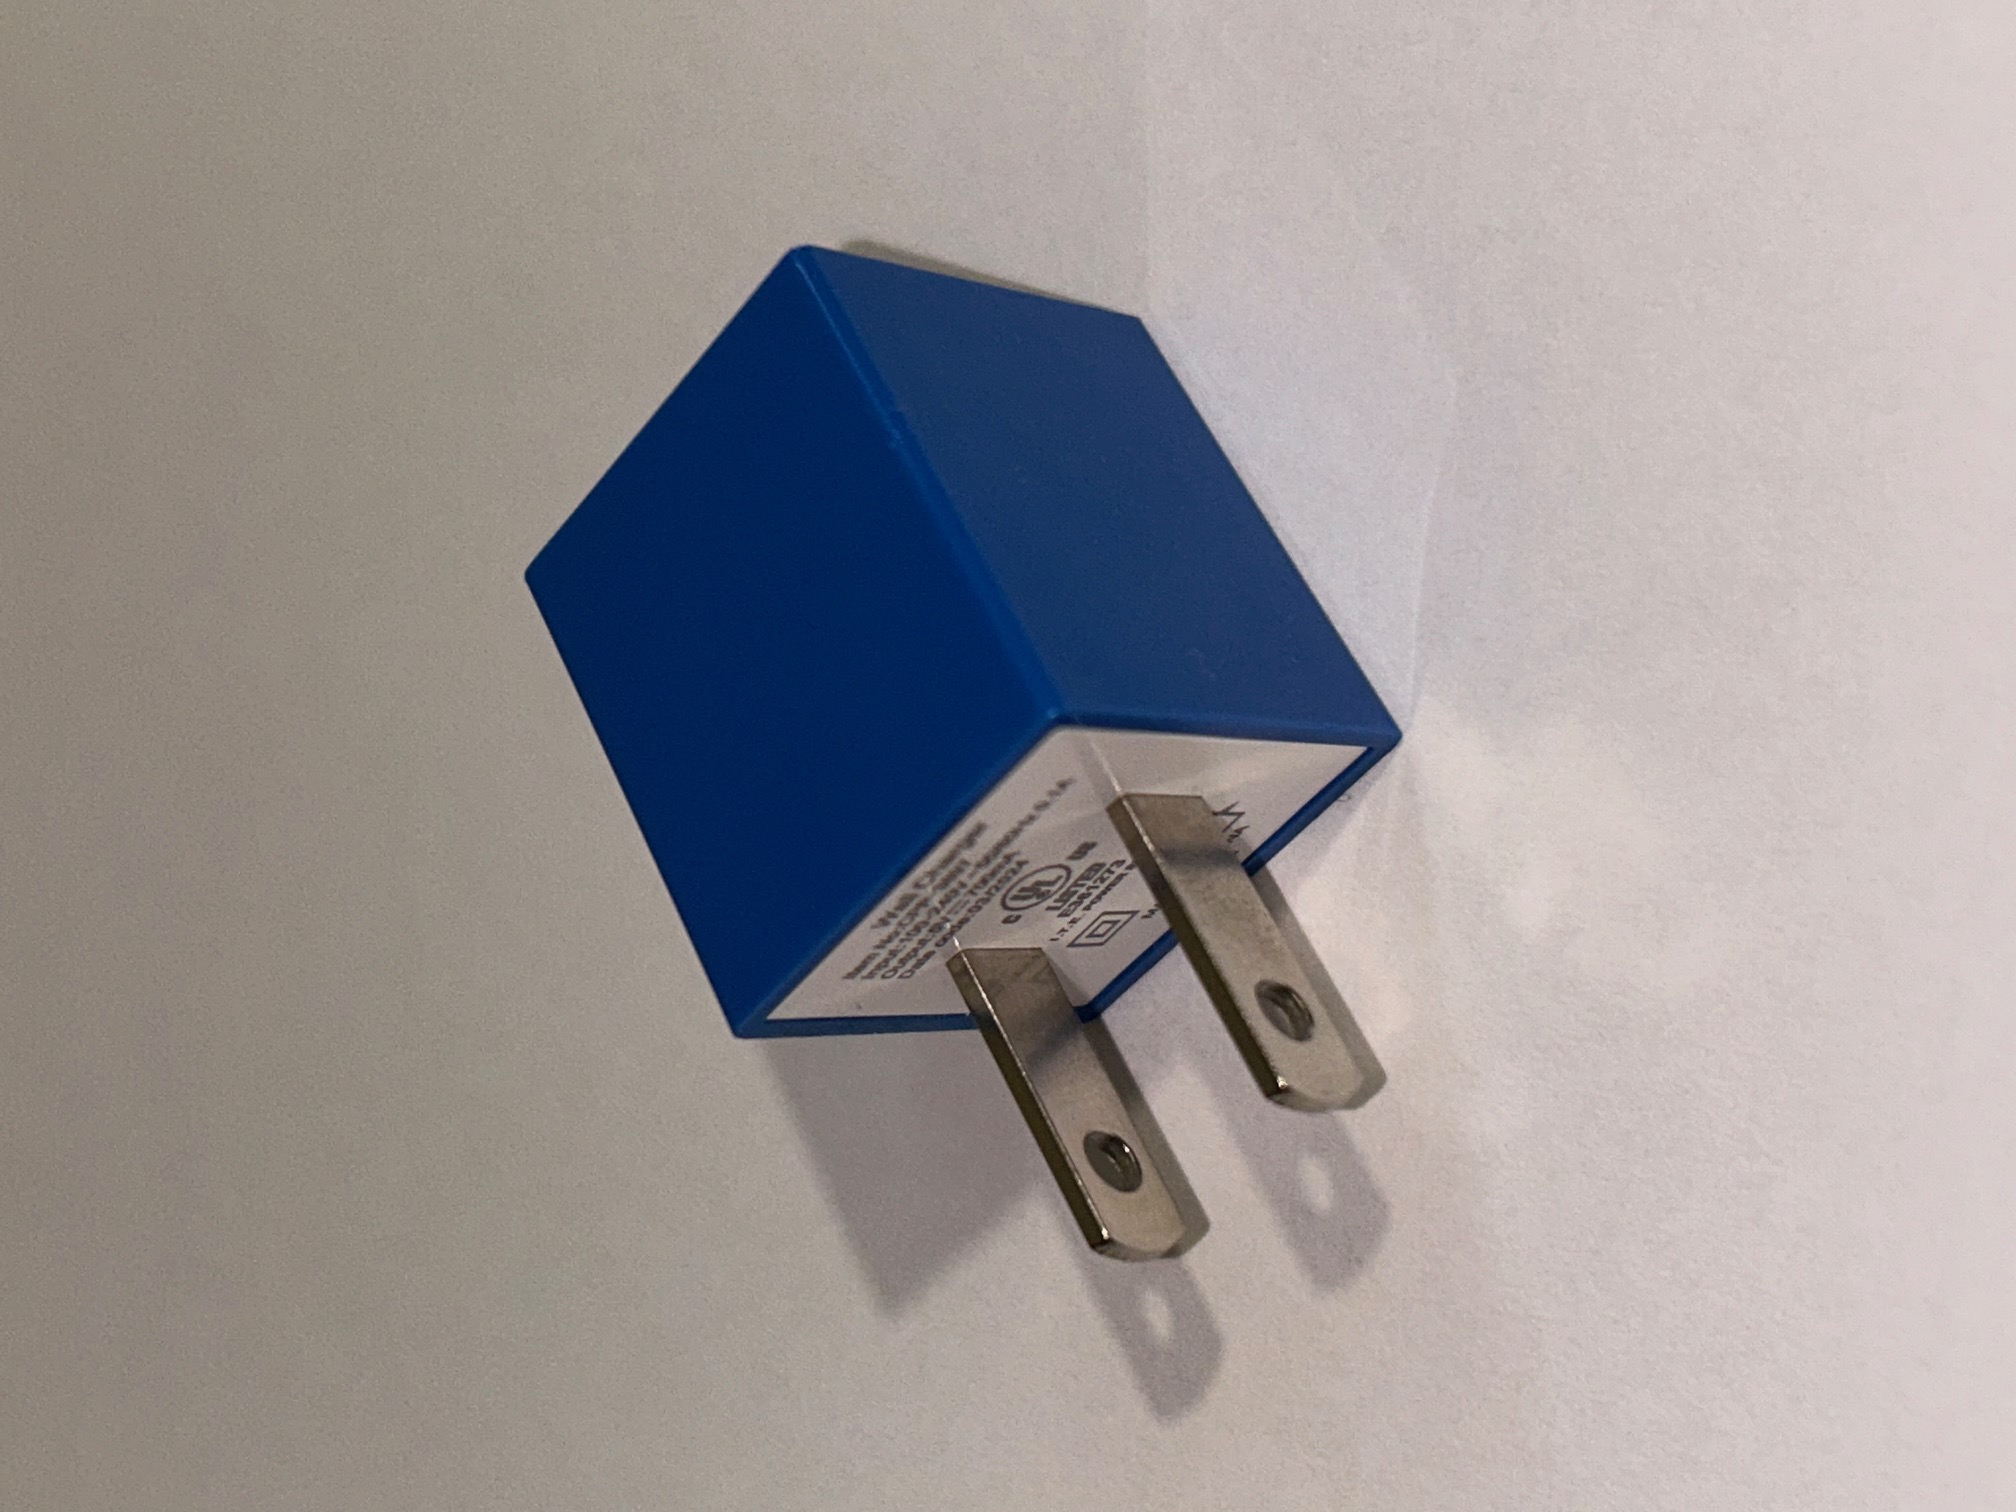
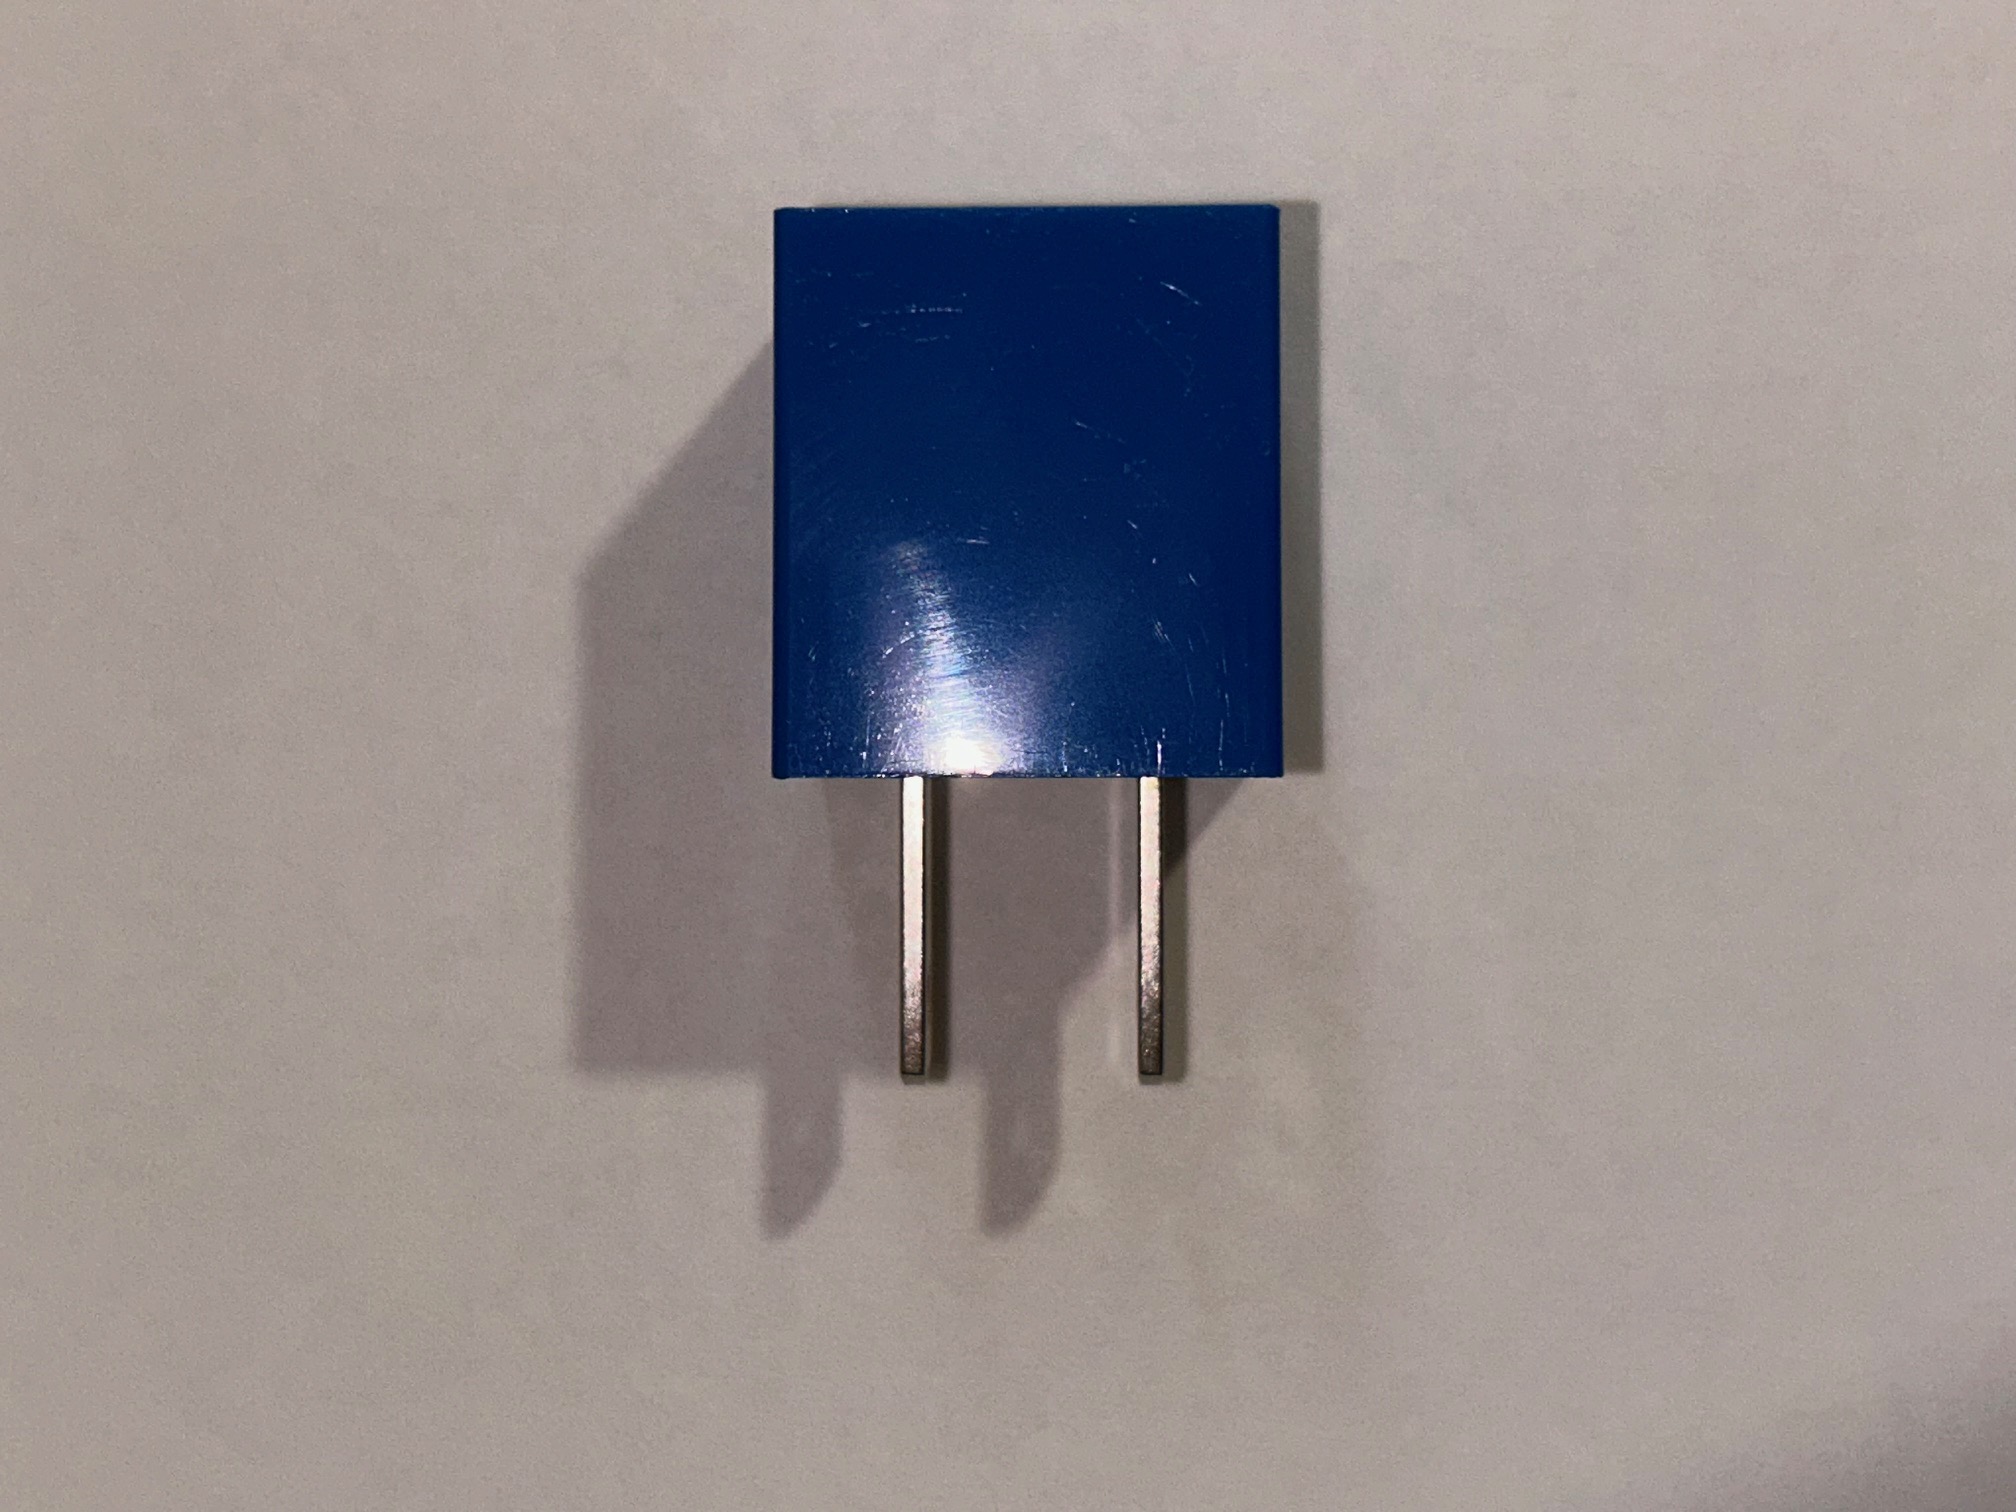
For my first modelling challenge, I decided to start nice and simple with a cube object around my home. I found this blue charger that resembles a chunky cube. It seemed relatively easy to model.

Design Challenge 1
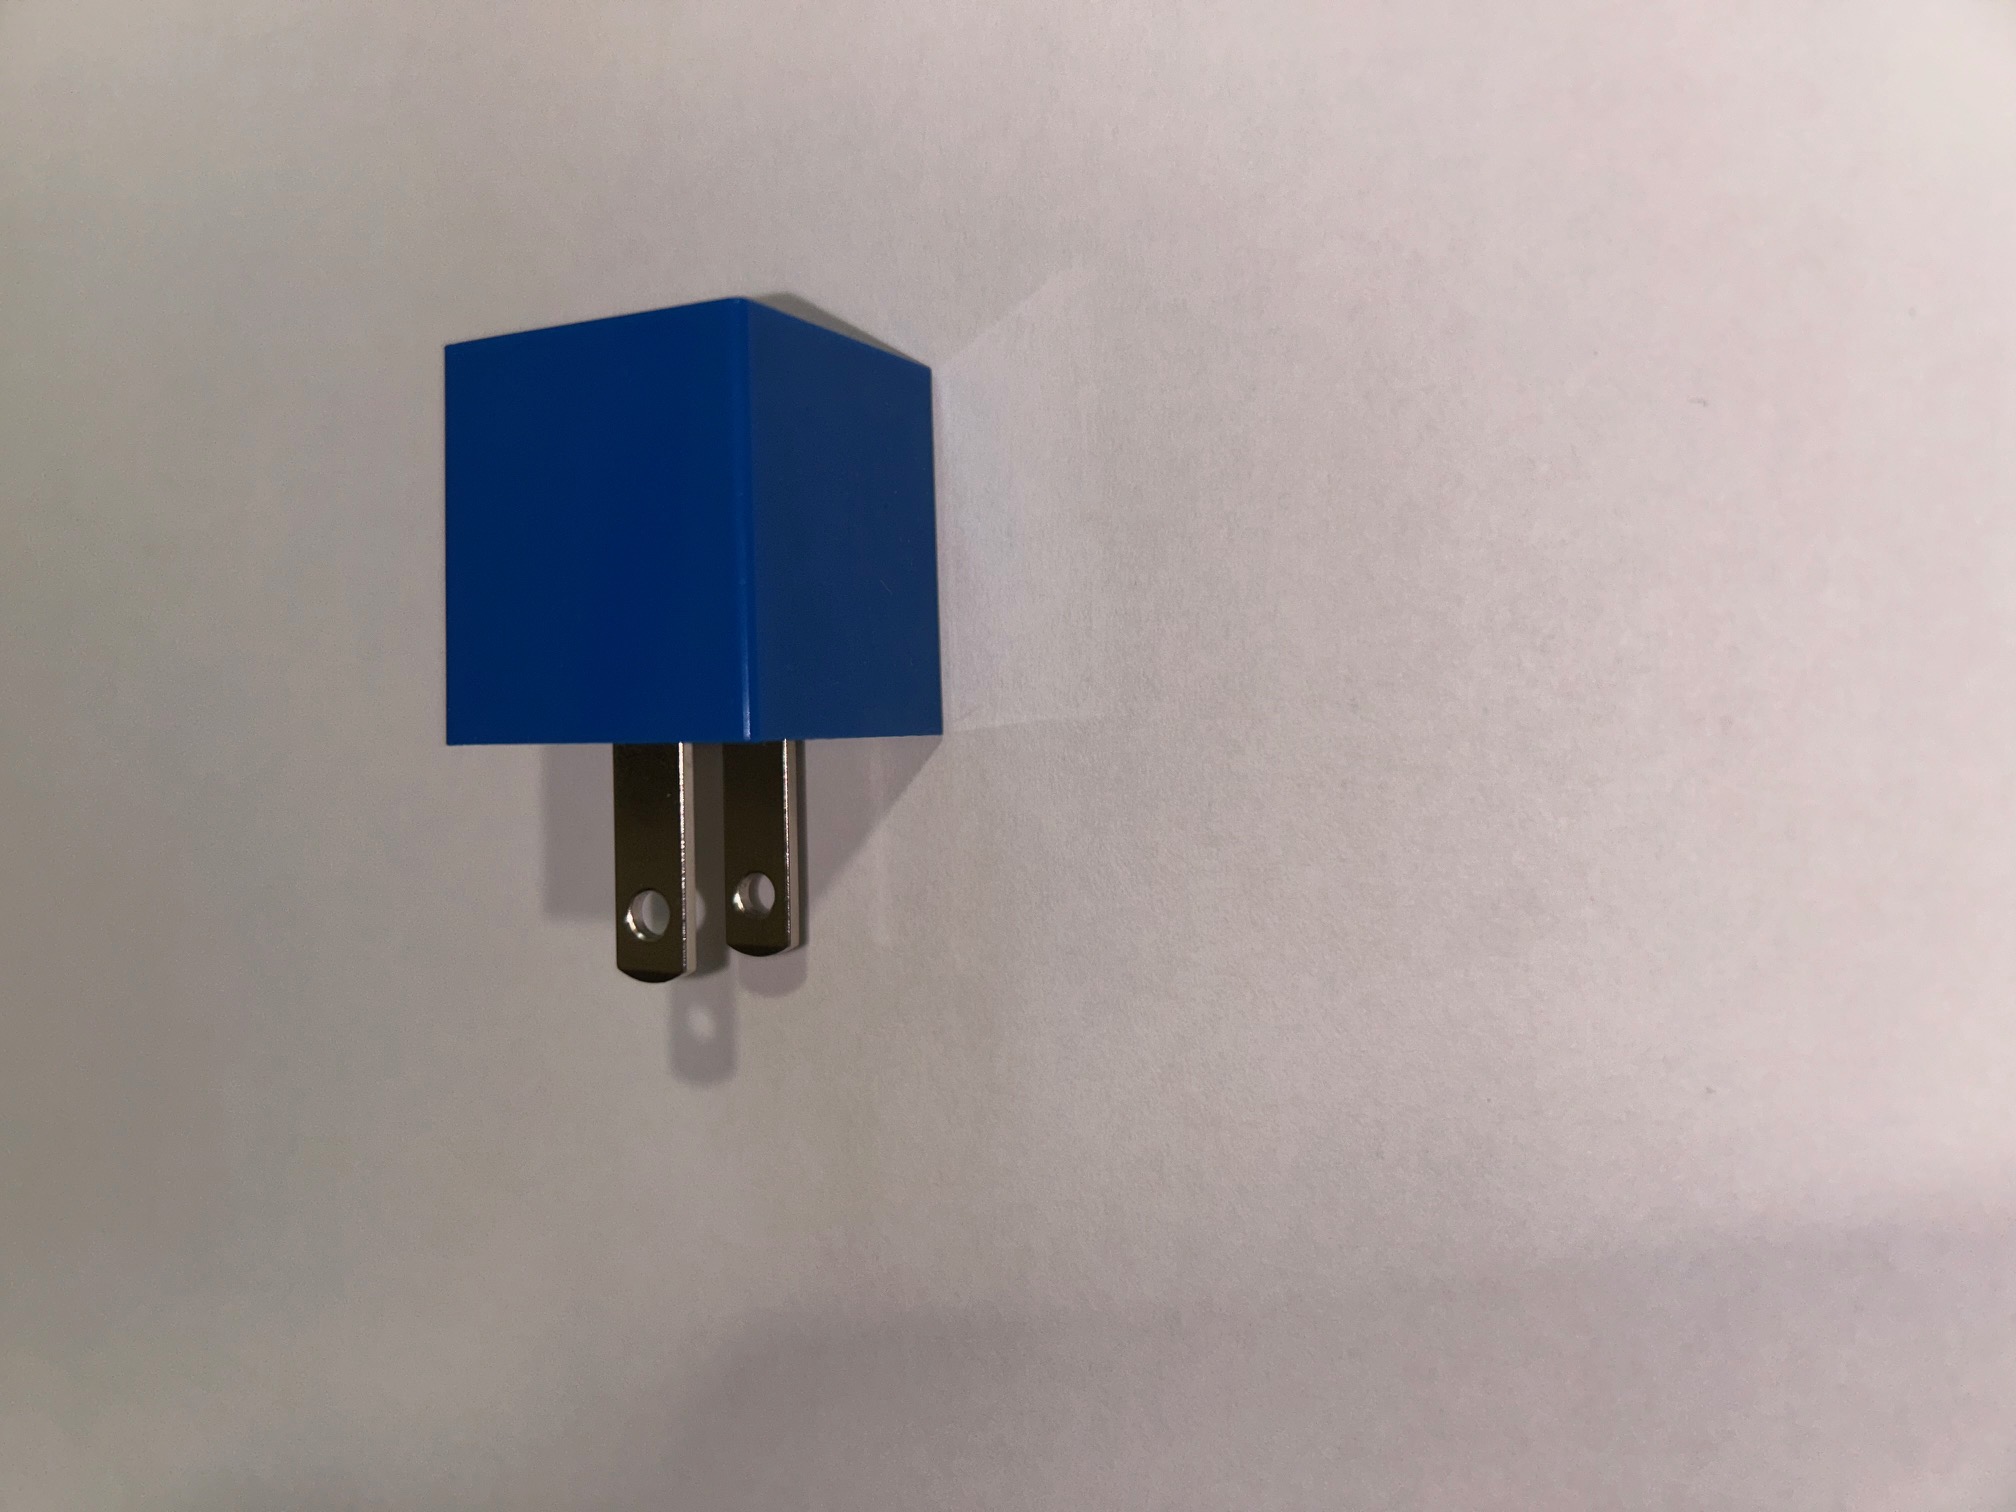
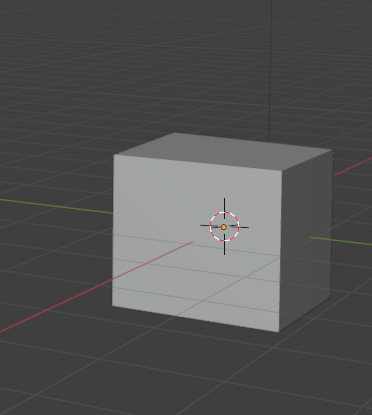
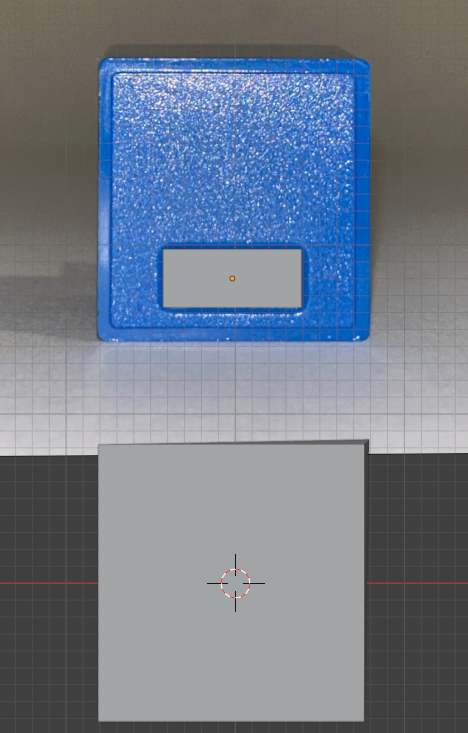
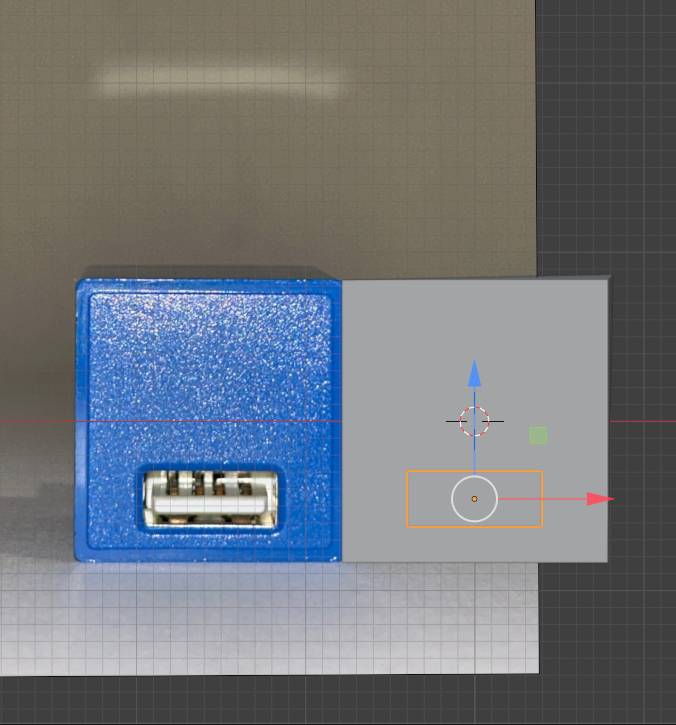
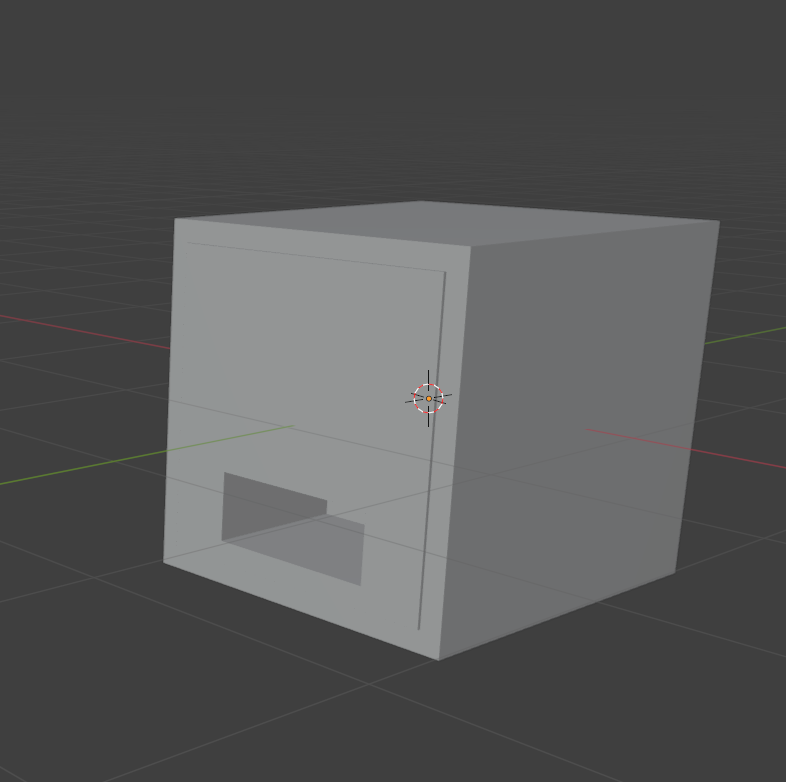
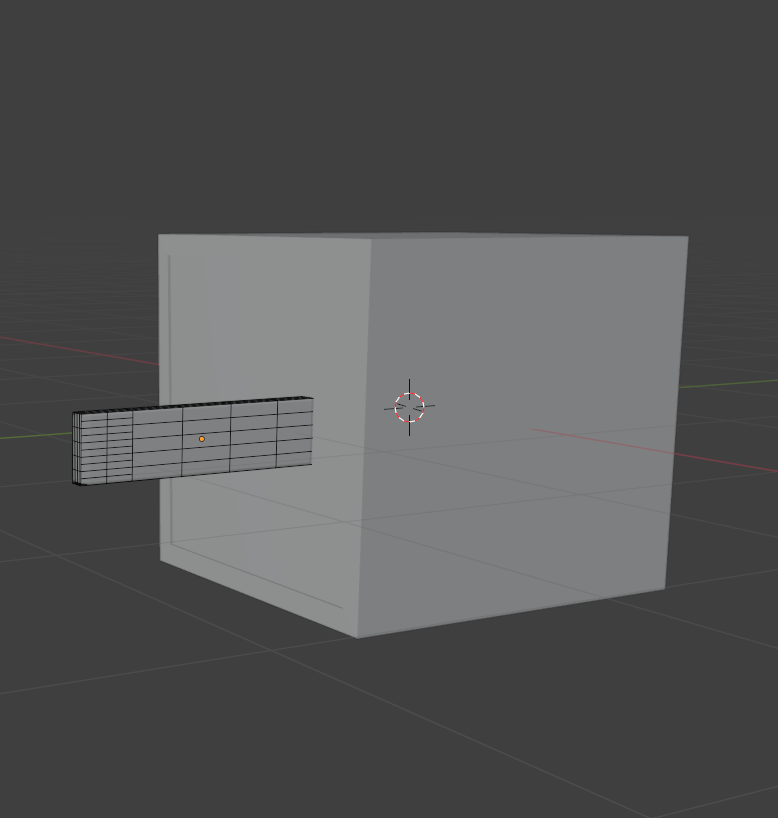
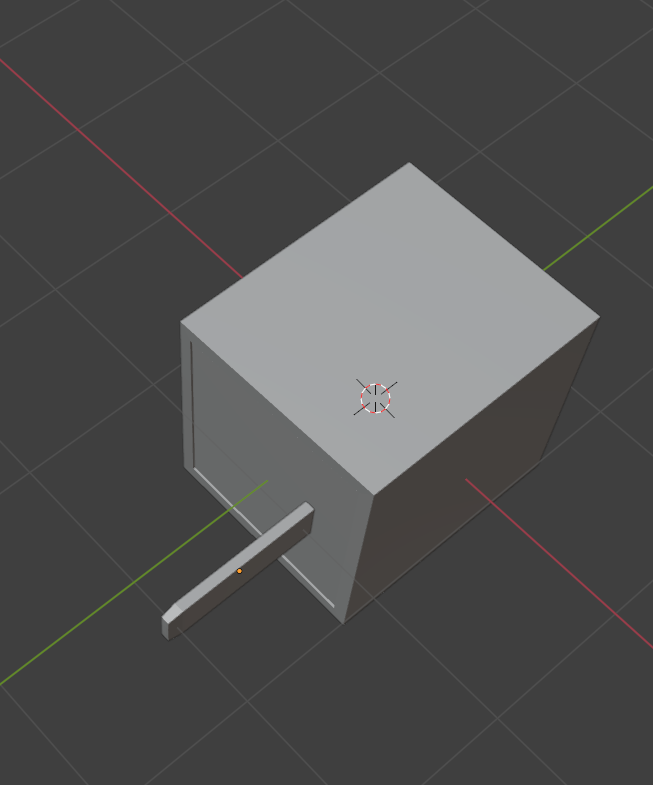
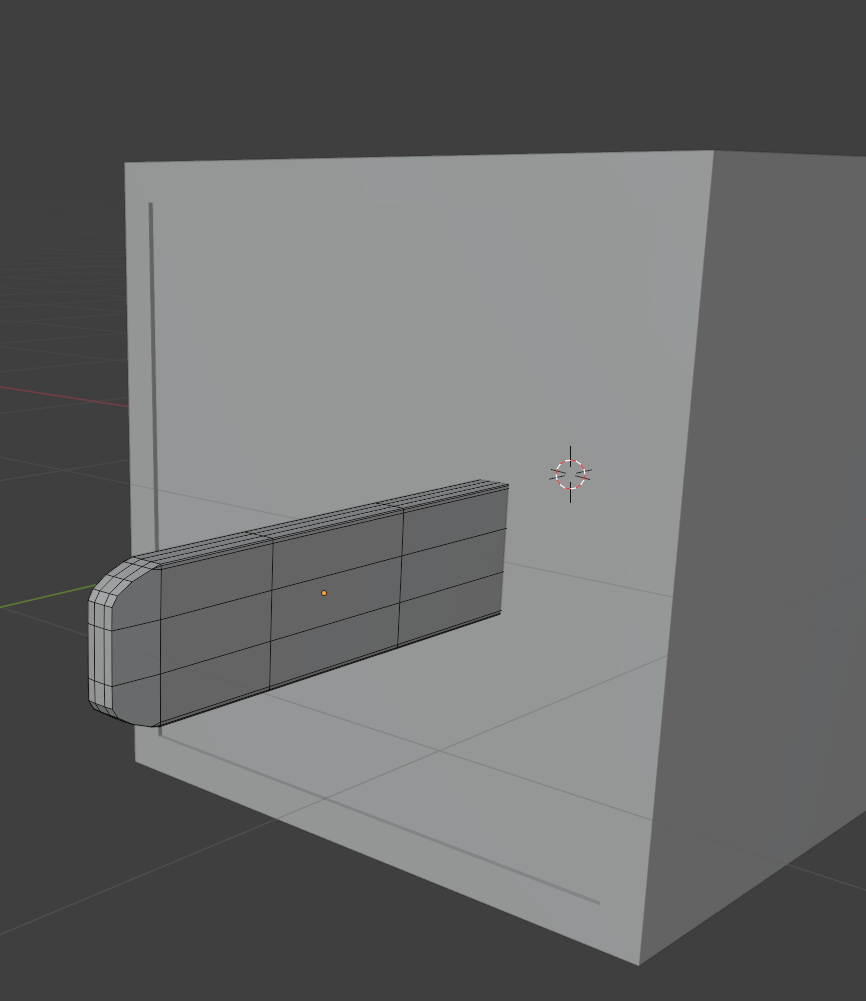
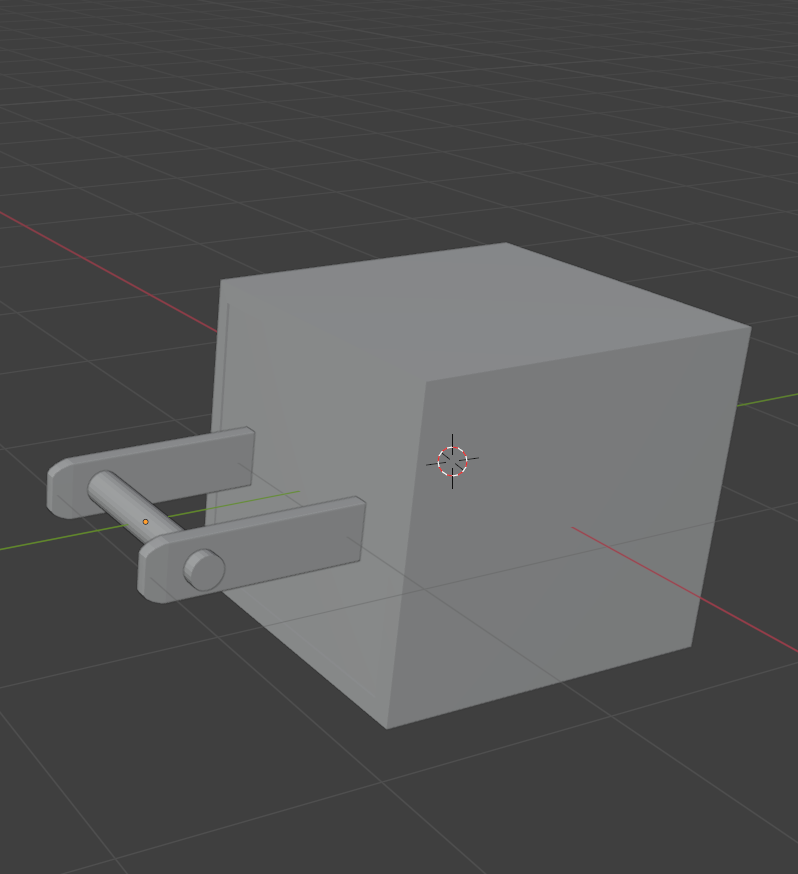
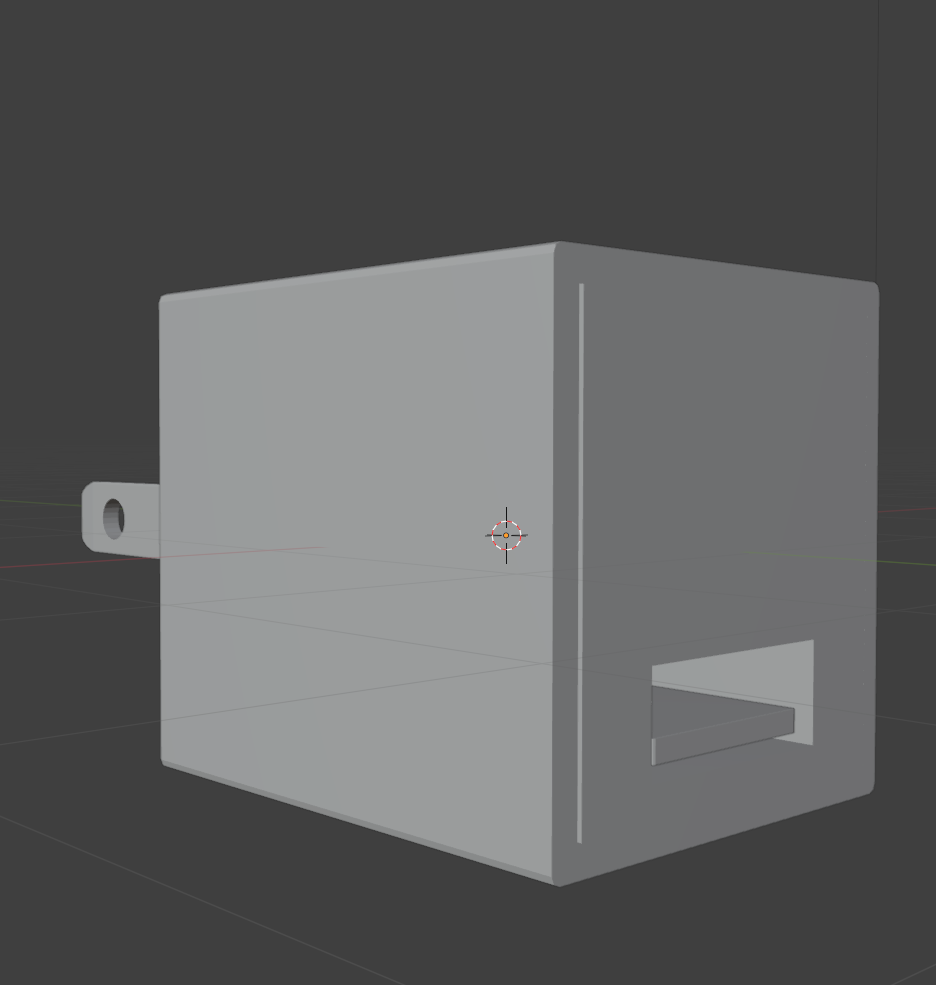
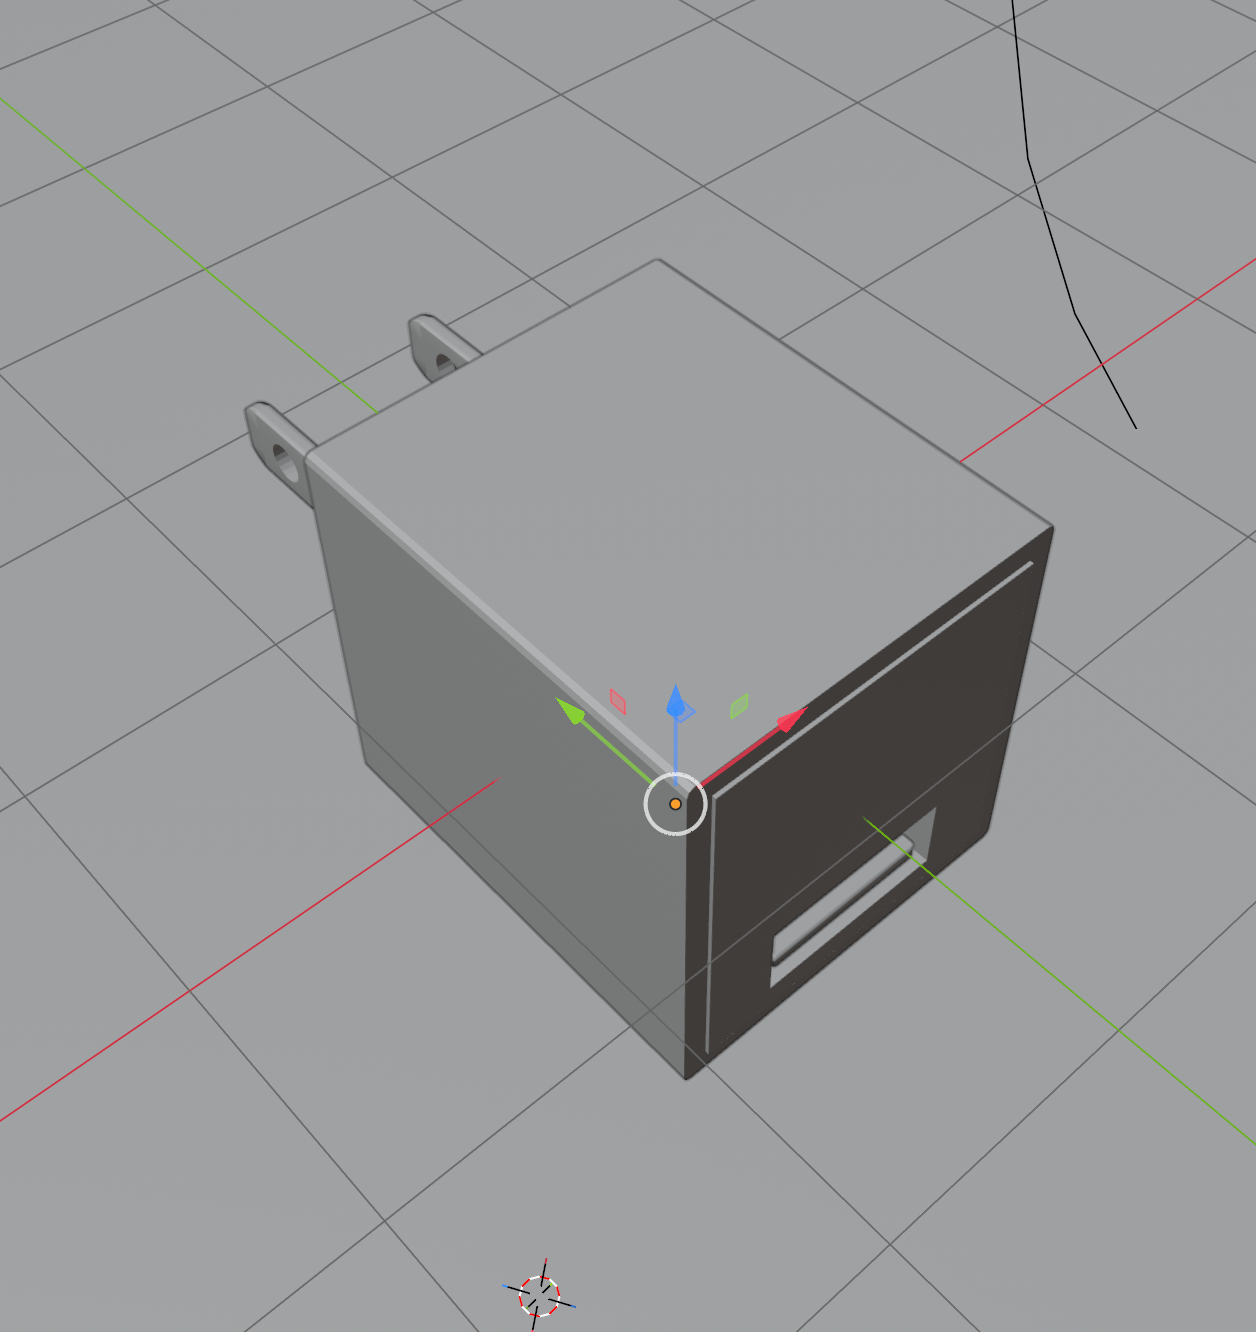
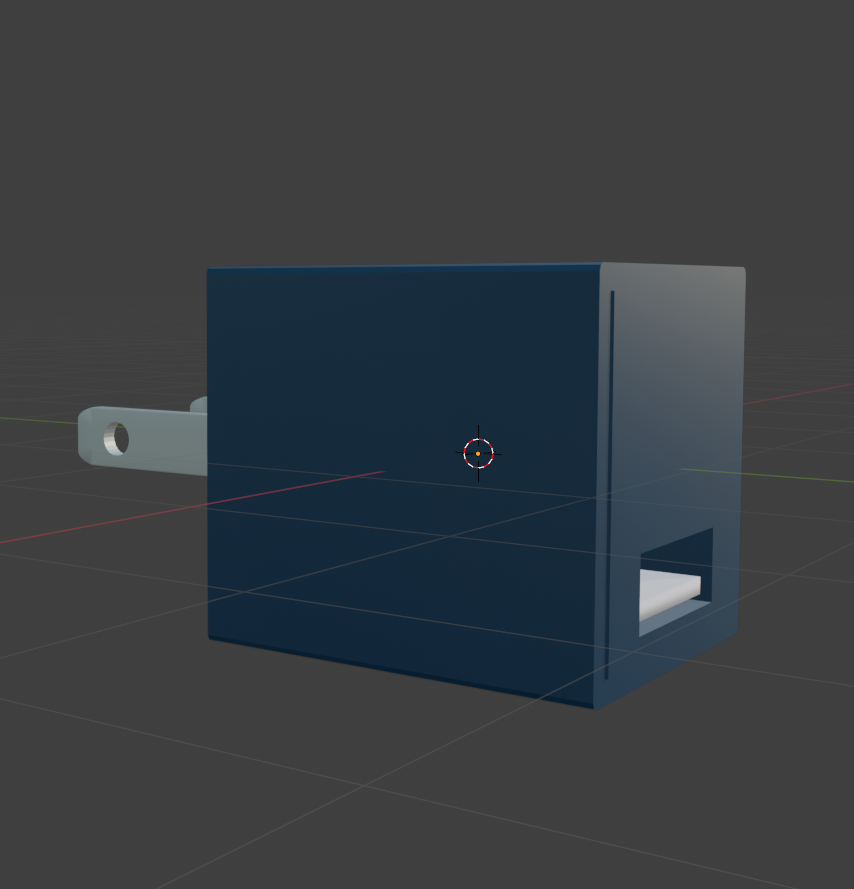
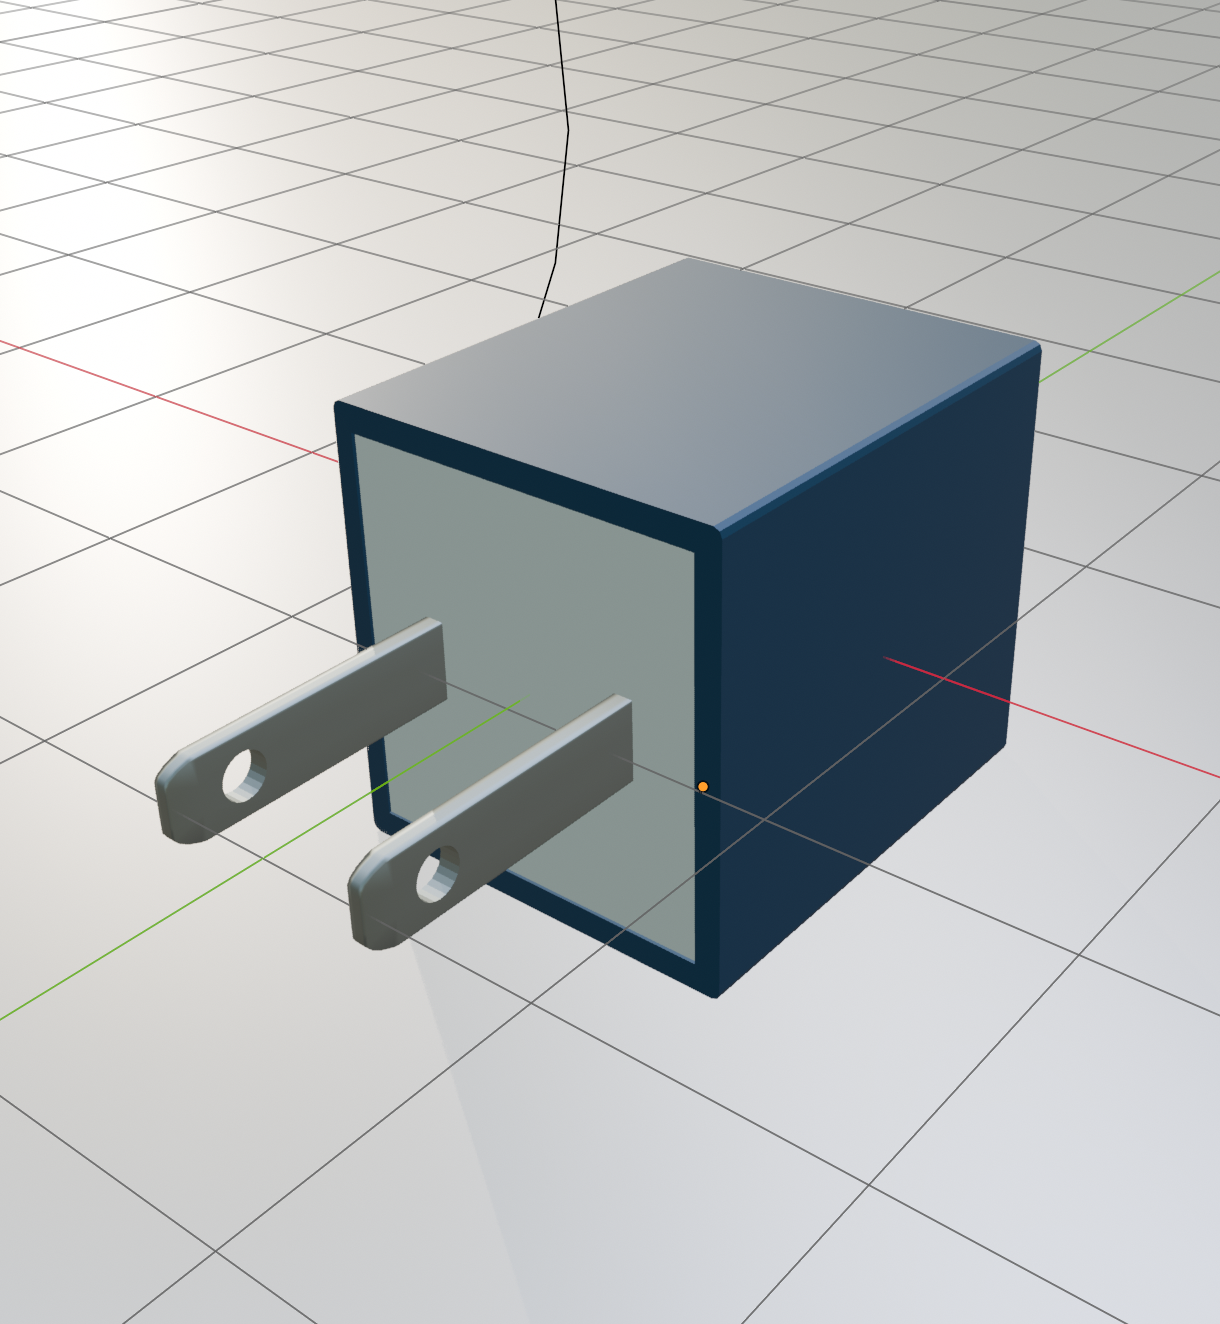
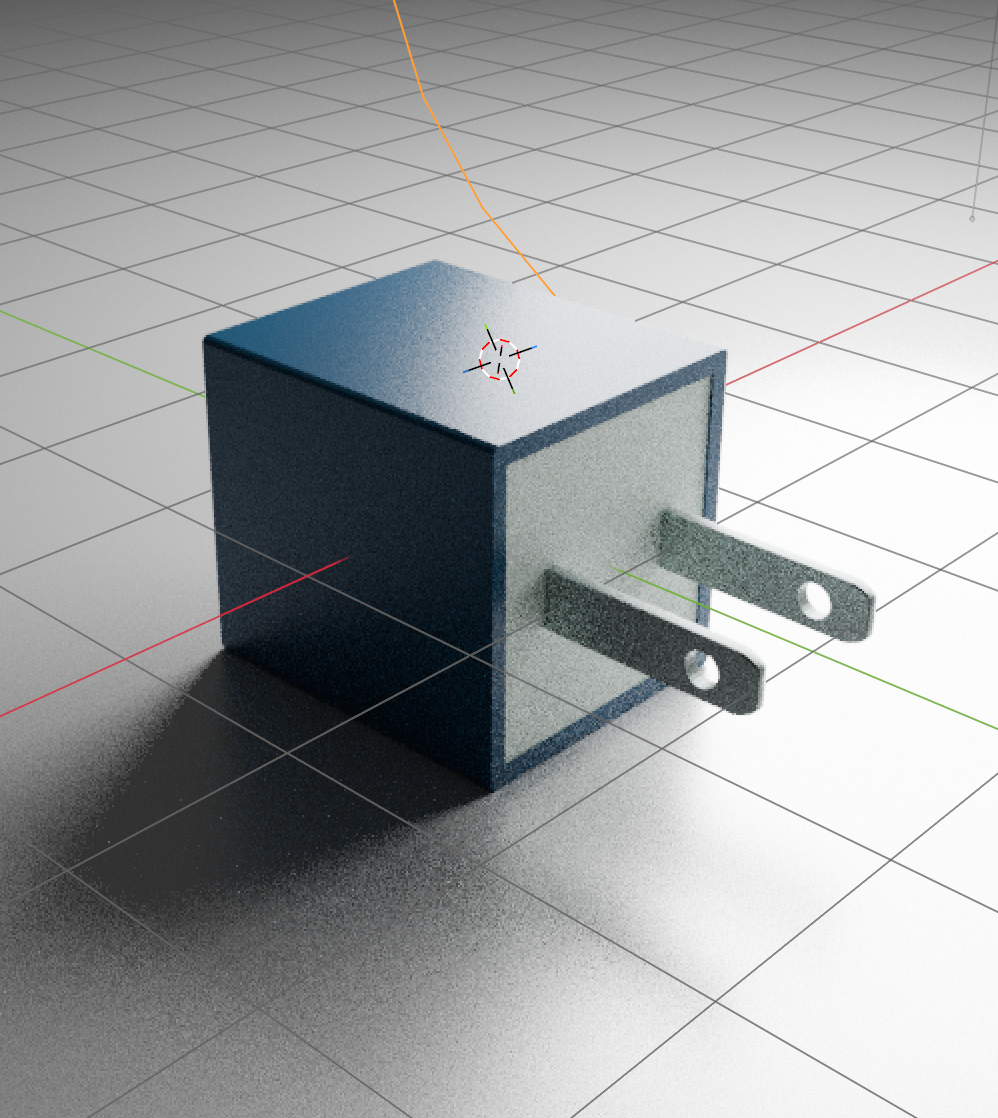
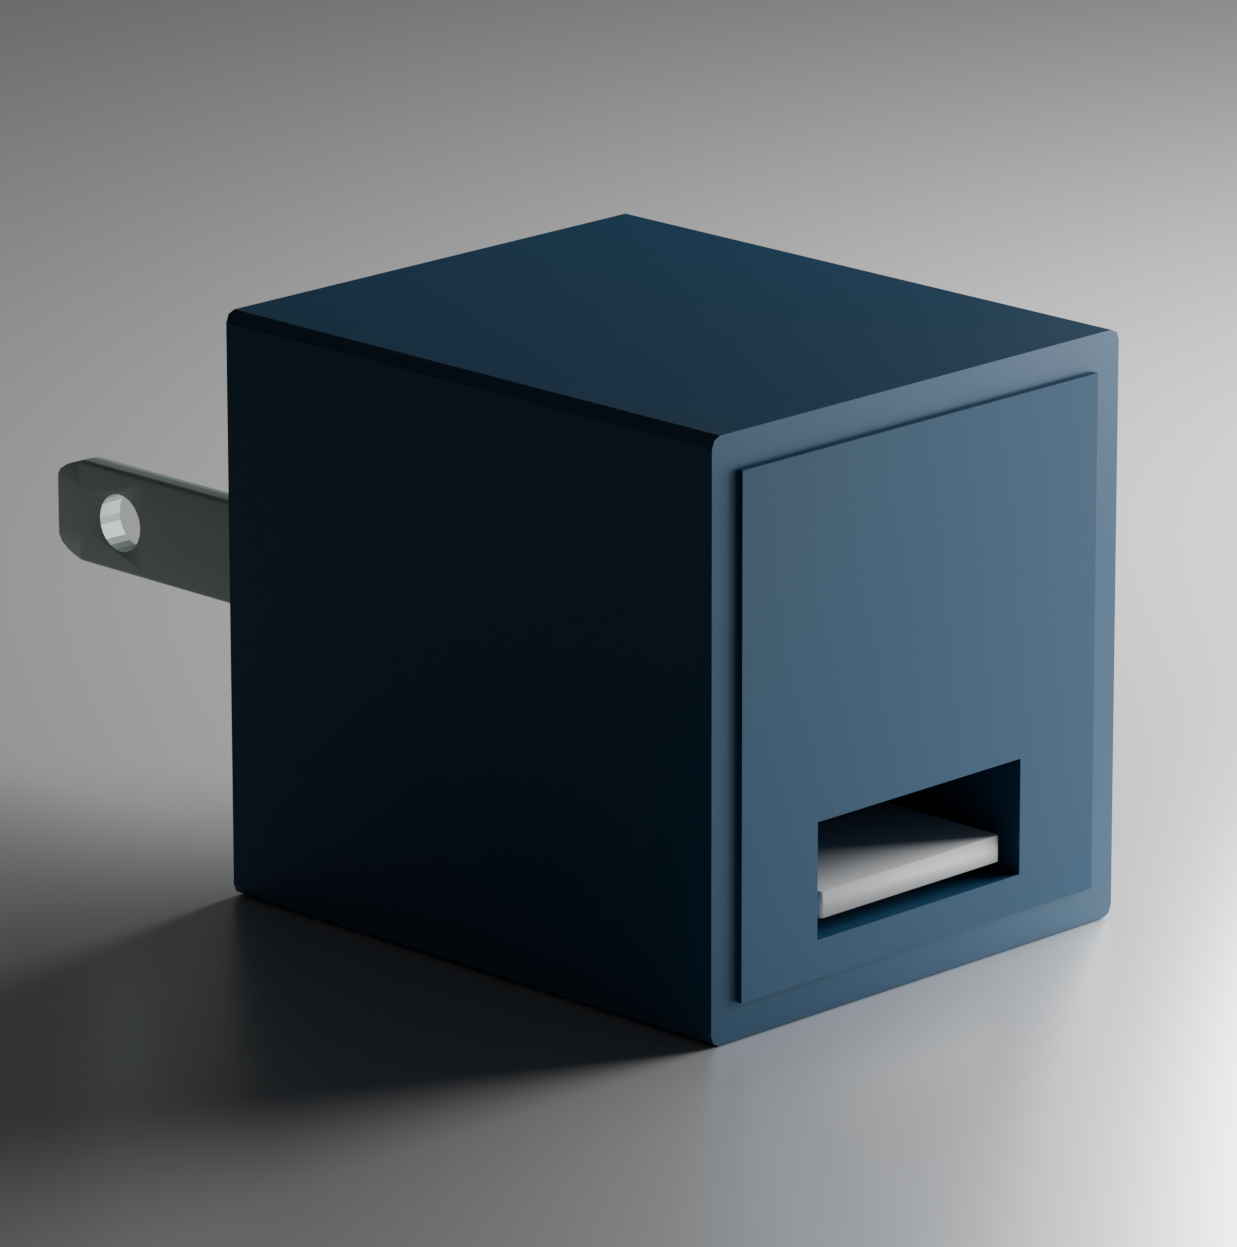
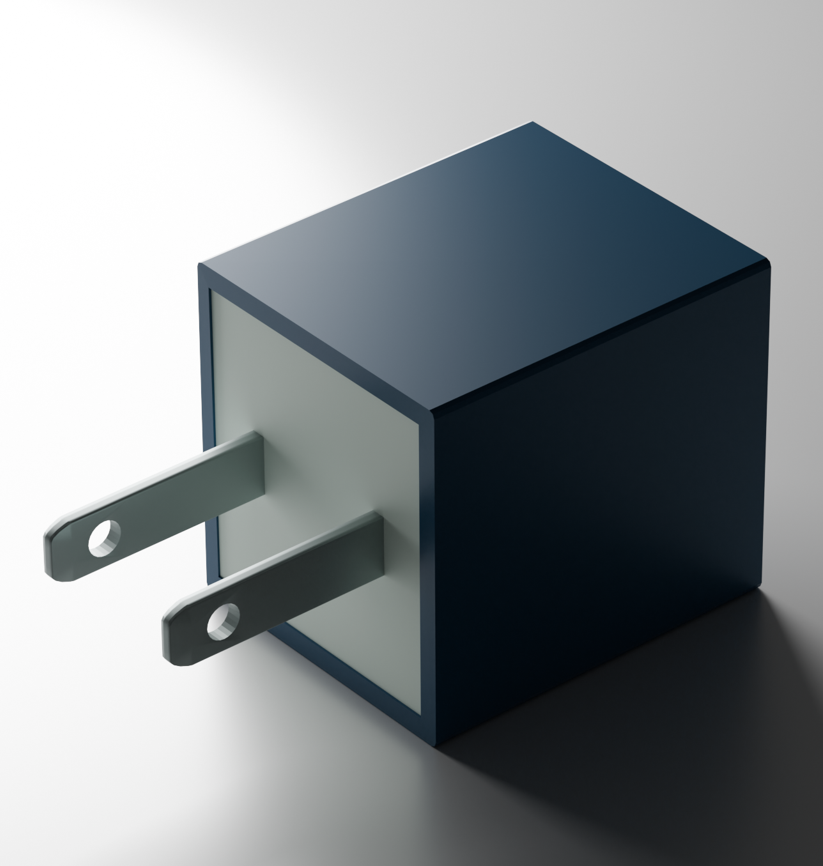
A simple image of the charging block of which you can only see the top and left faces The charging block is exposed to a light from the top right of the image as a simple light study The back side of the cube is a rough texture, which I kept in mind when texturing the charging block The block is placed right side up to take a look at the USB port in more detail This angle helped me proportion the back side in blender, as it is as level with the table as possible A different angle of the backside right side up. It helped me better understand the relationship between the top and back side Focusing the light on the top side of the metal bits to see where the bevels might go and how big they are Isolating the top view of the block as well as different lighting (flash on camera) to see how the material reacts A different angle of the cube that better displays the white front face for future reference use in Blender I isolated the top side of the charger to help better place the metal bits in the future I added a base cube and played with the height and width relative to my real life reference I created and aligned a rectangle to a reference image I uploaded to better help me scale and visualise the block I used the reference image to further help me place other components of the cube appropriately I added the subtle extrusion to the back of the cube to mimic the real one. I also subtracted the rectangle from the back so that it created the charging hole I started to work on the metal bit to copy and paste to the other side later. I added a cube and shaped it to size, then started dividing the shape's faces I realised that the amount of faces my metal bit had was going to be a problem. I then decided to reverse some changes and pivot into another strategy I divided the faces of the metal in a more reasonable way with less faces than the first iteration. I then went on to copying and pasting it to the other side. I also bevelled the edges to mimic the real block I used this cylinder to cut through both metal parts of the block. I added a modifier to the cube > added a boolean > subtracted the cylinder then hit apply (in Blender) I added a bevel to the block's body. I ensured it would be subtle yet noticeable even from afar I finalized the cube itself from all angles before I was ready to move on to creating materials / meshes and rendering I added my first material to the block's body. I was not satisfied with the first rendition, as it did not reflect like my block nor did it have the same colour I re-added the floor and brought in my first light source to test it out. I also adjusted the materials' properties to better match the real life block This image showcases the early stages of rendering where I play around with the camera angles and lighting This is the final render of my charging block from the back. I managed to mattify the back side so that it better matched the real life block This is the final render of my charging block from the front. I managed to recolour one face of my cube at the front to match the real thing, which was something new and exciting to me

Design Challenge 2
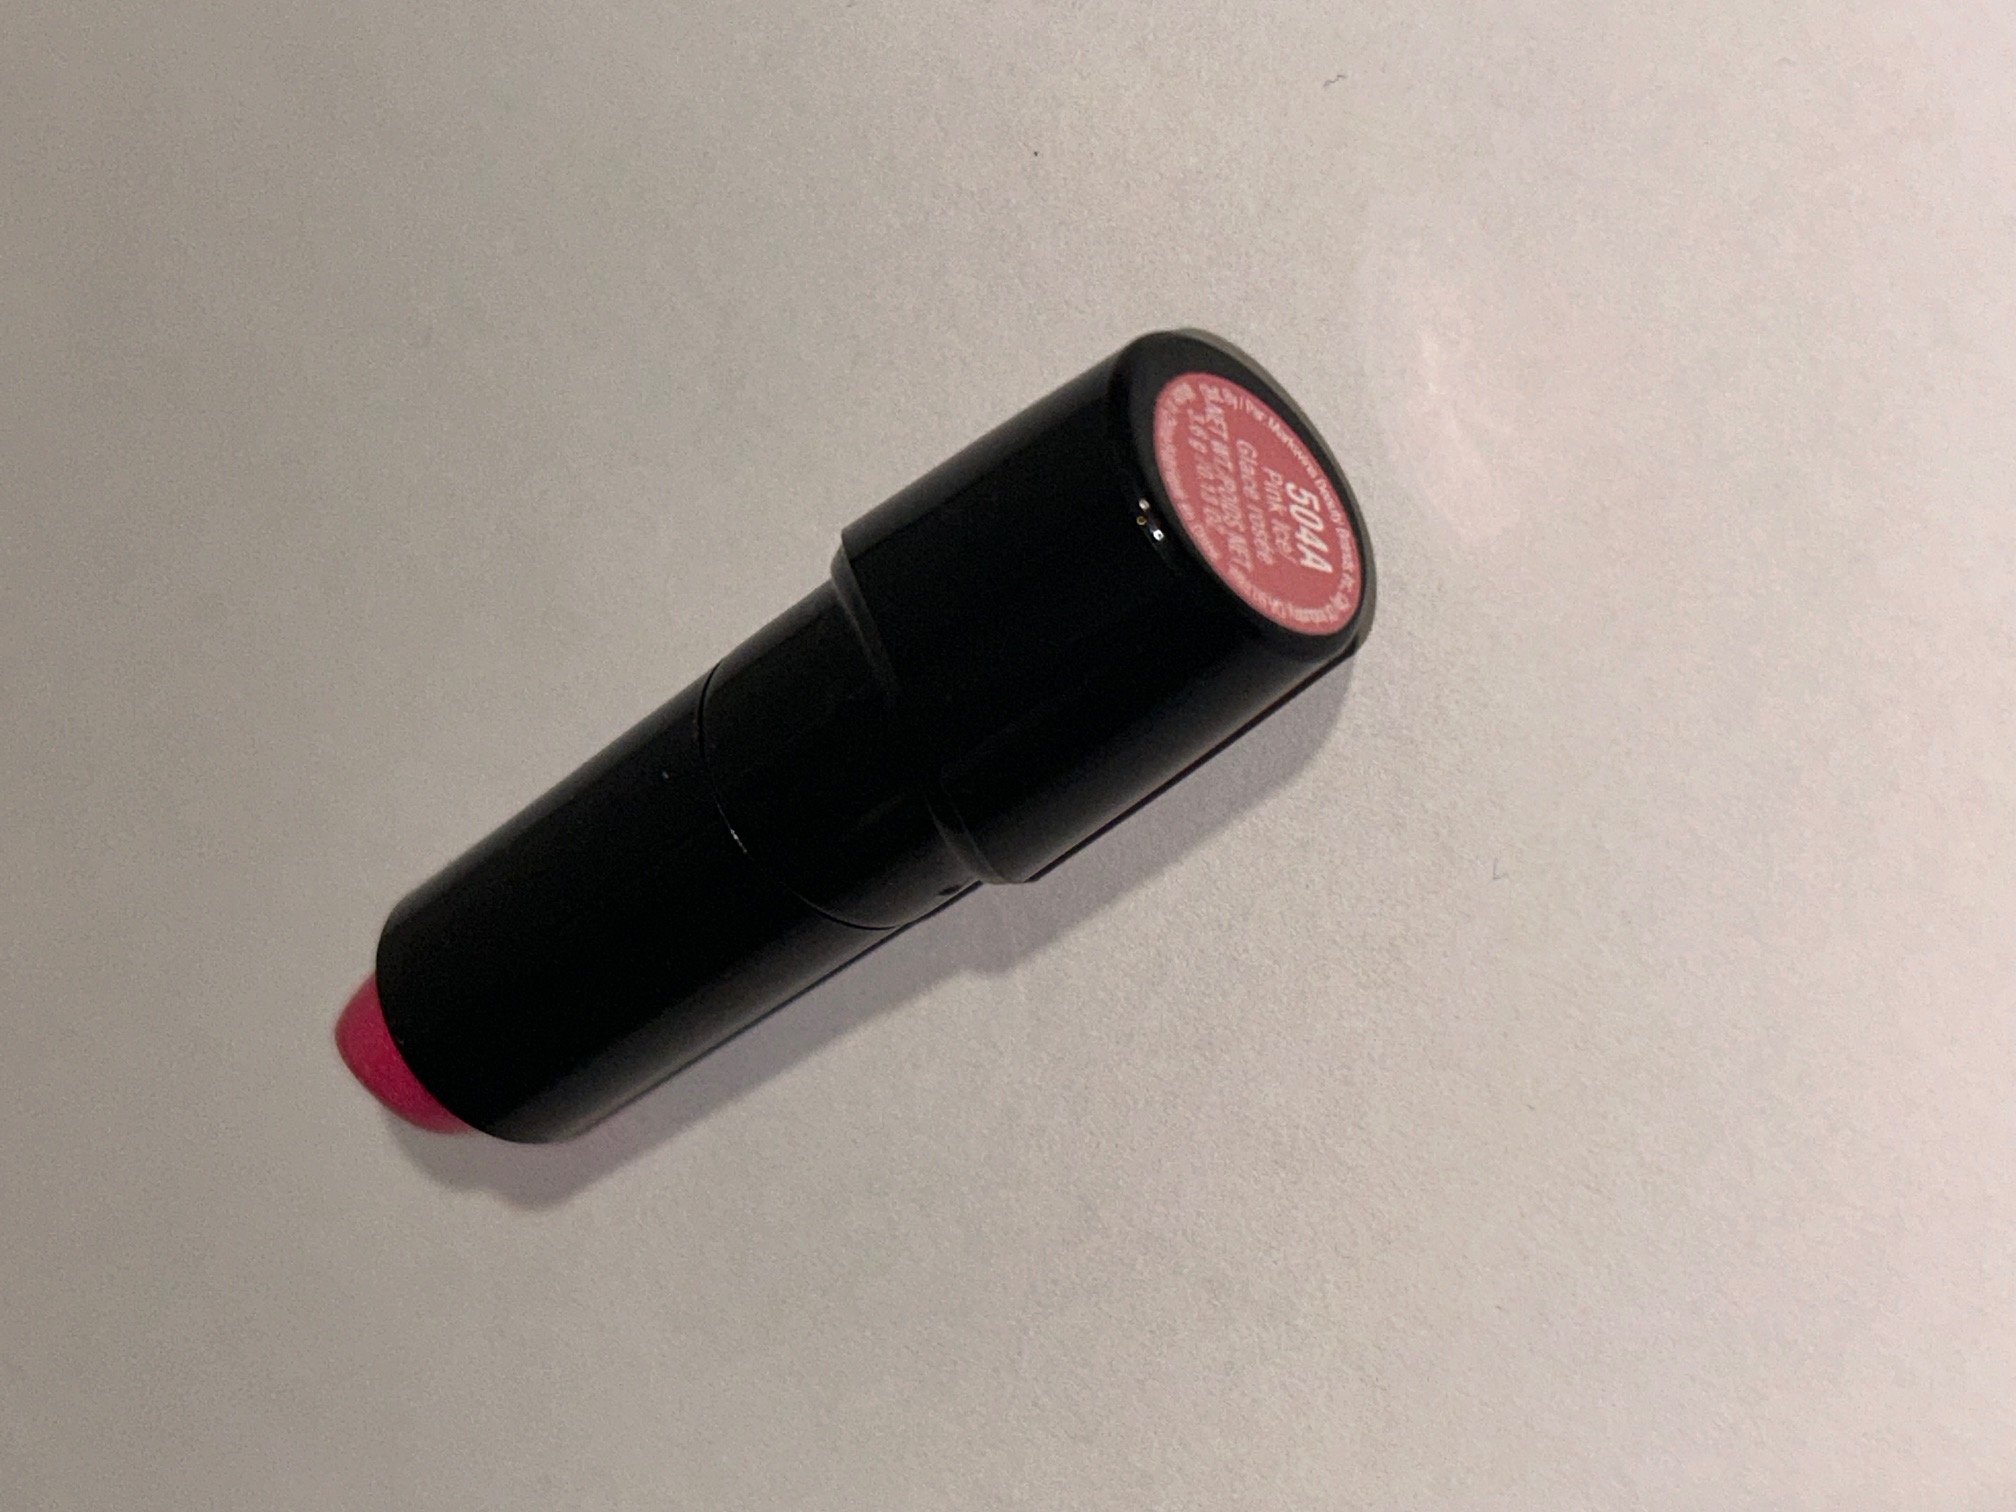
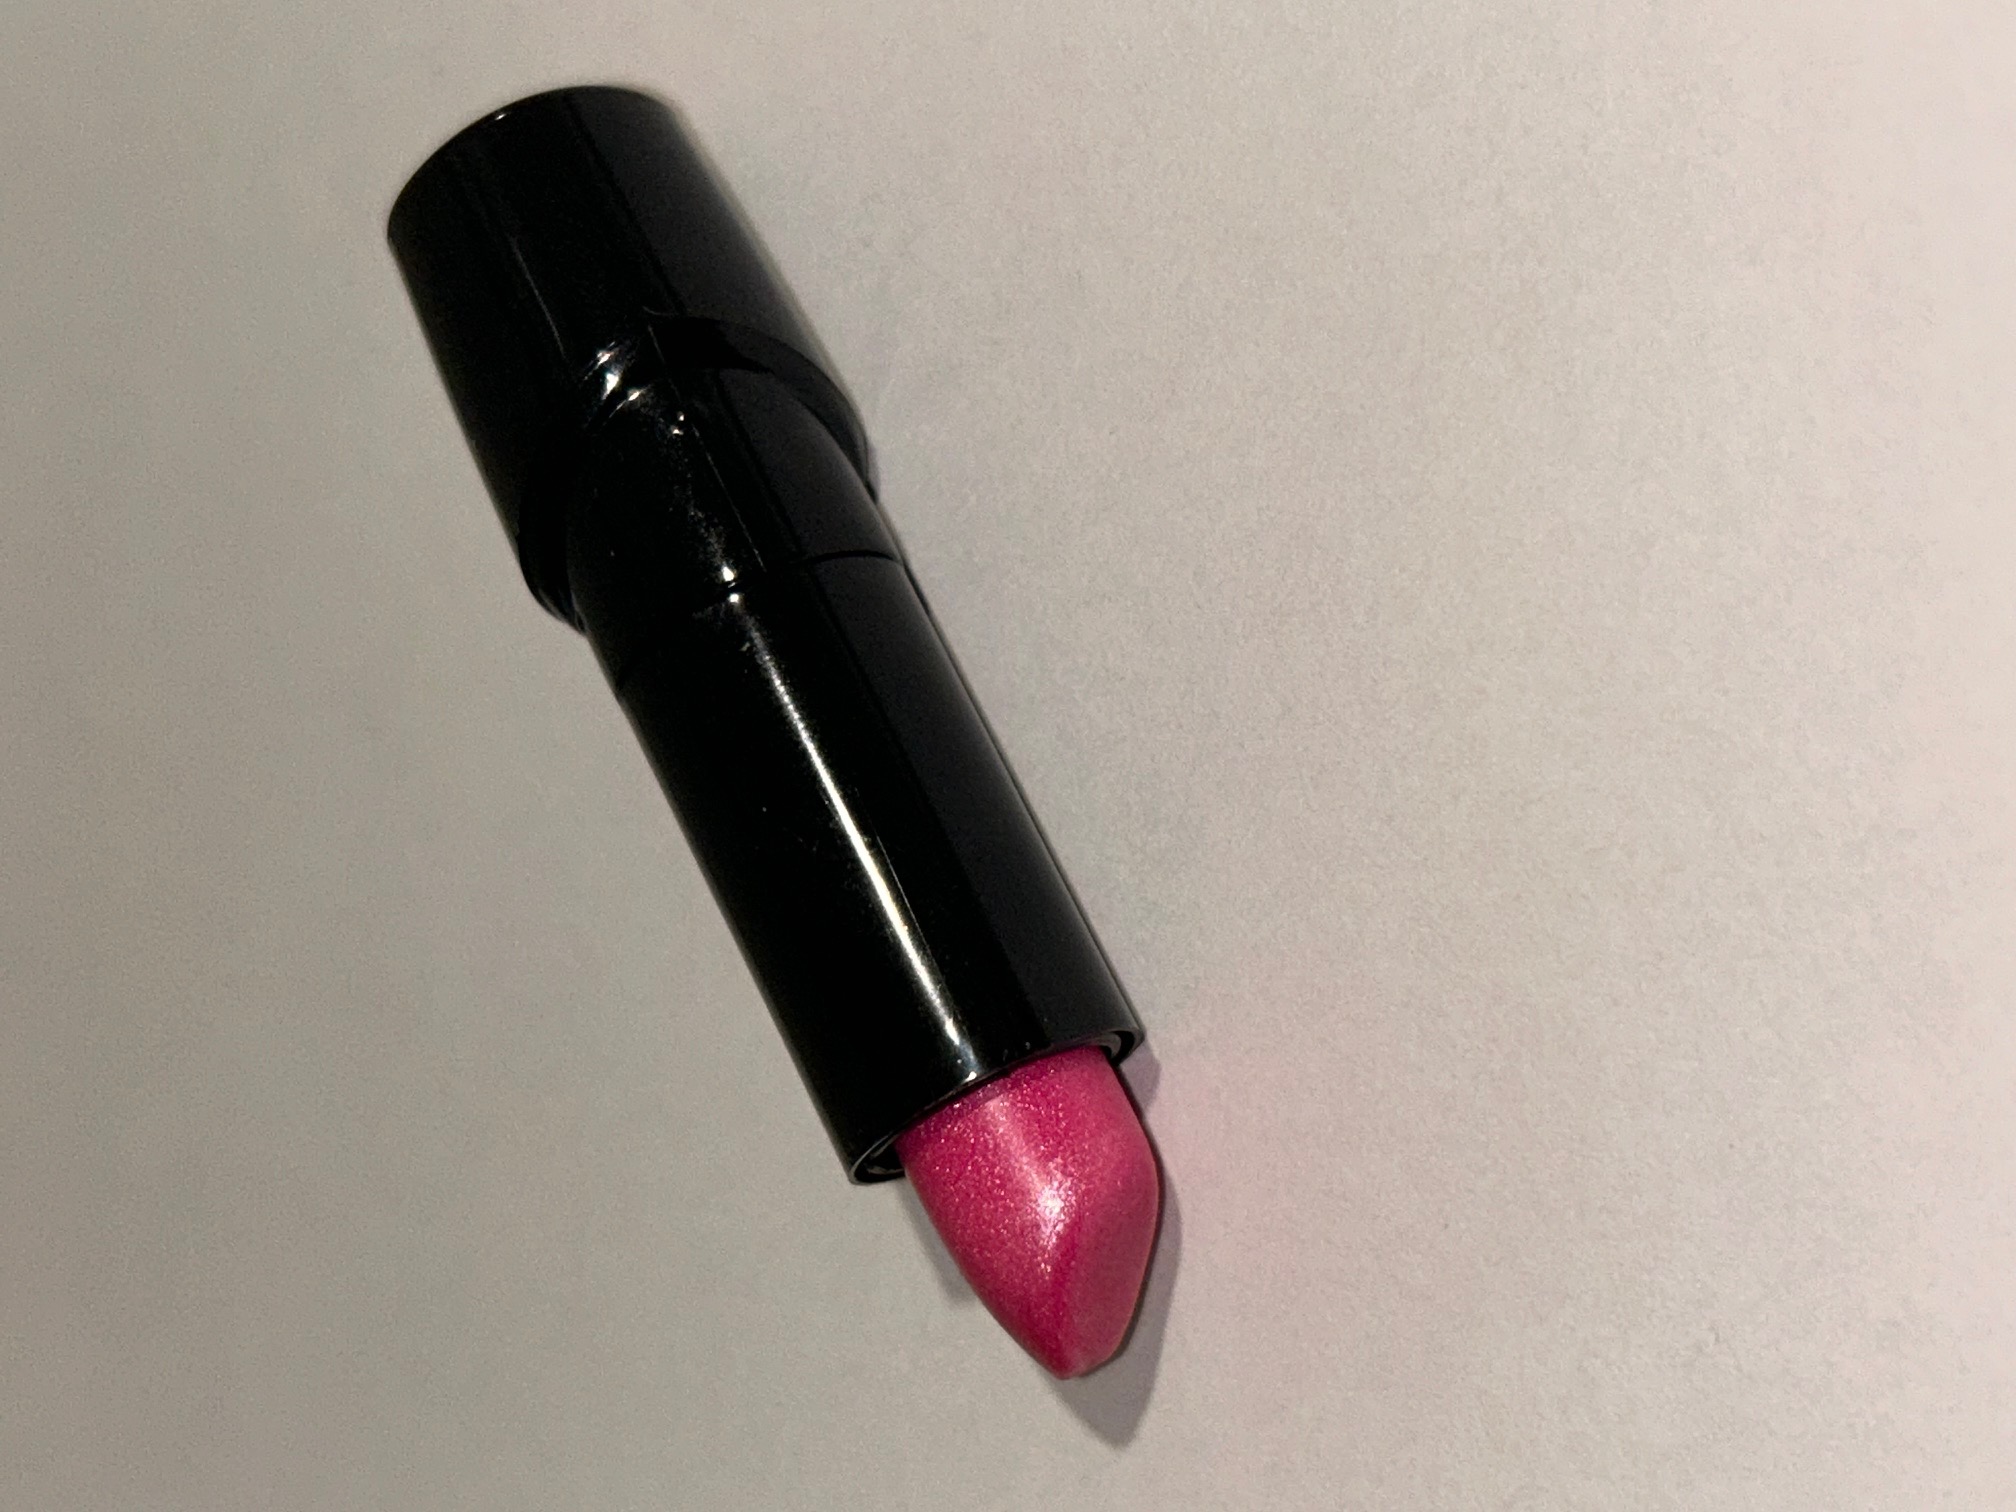
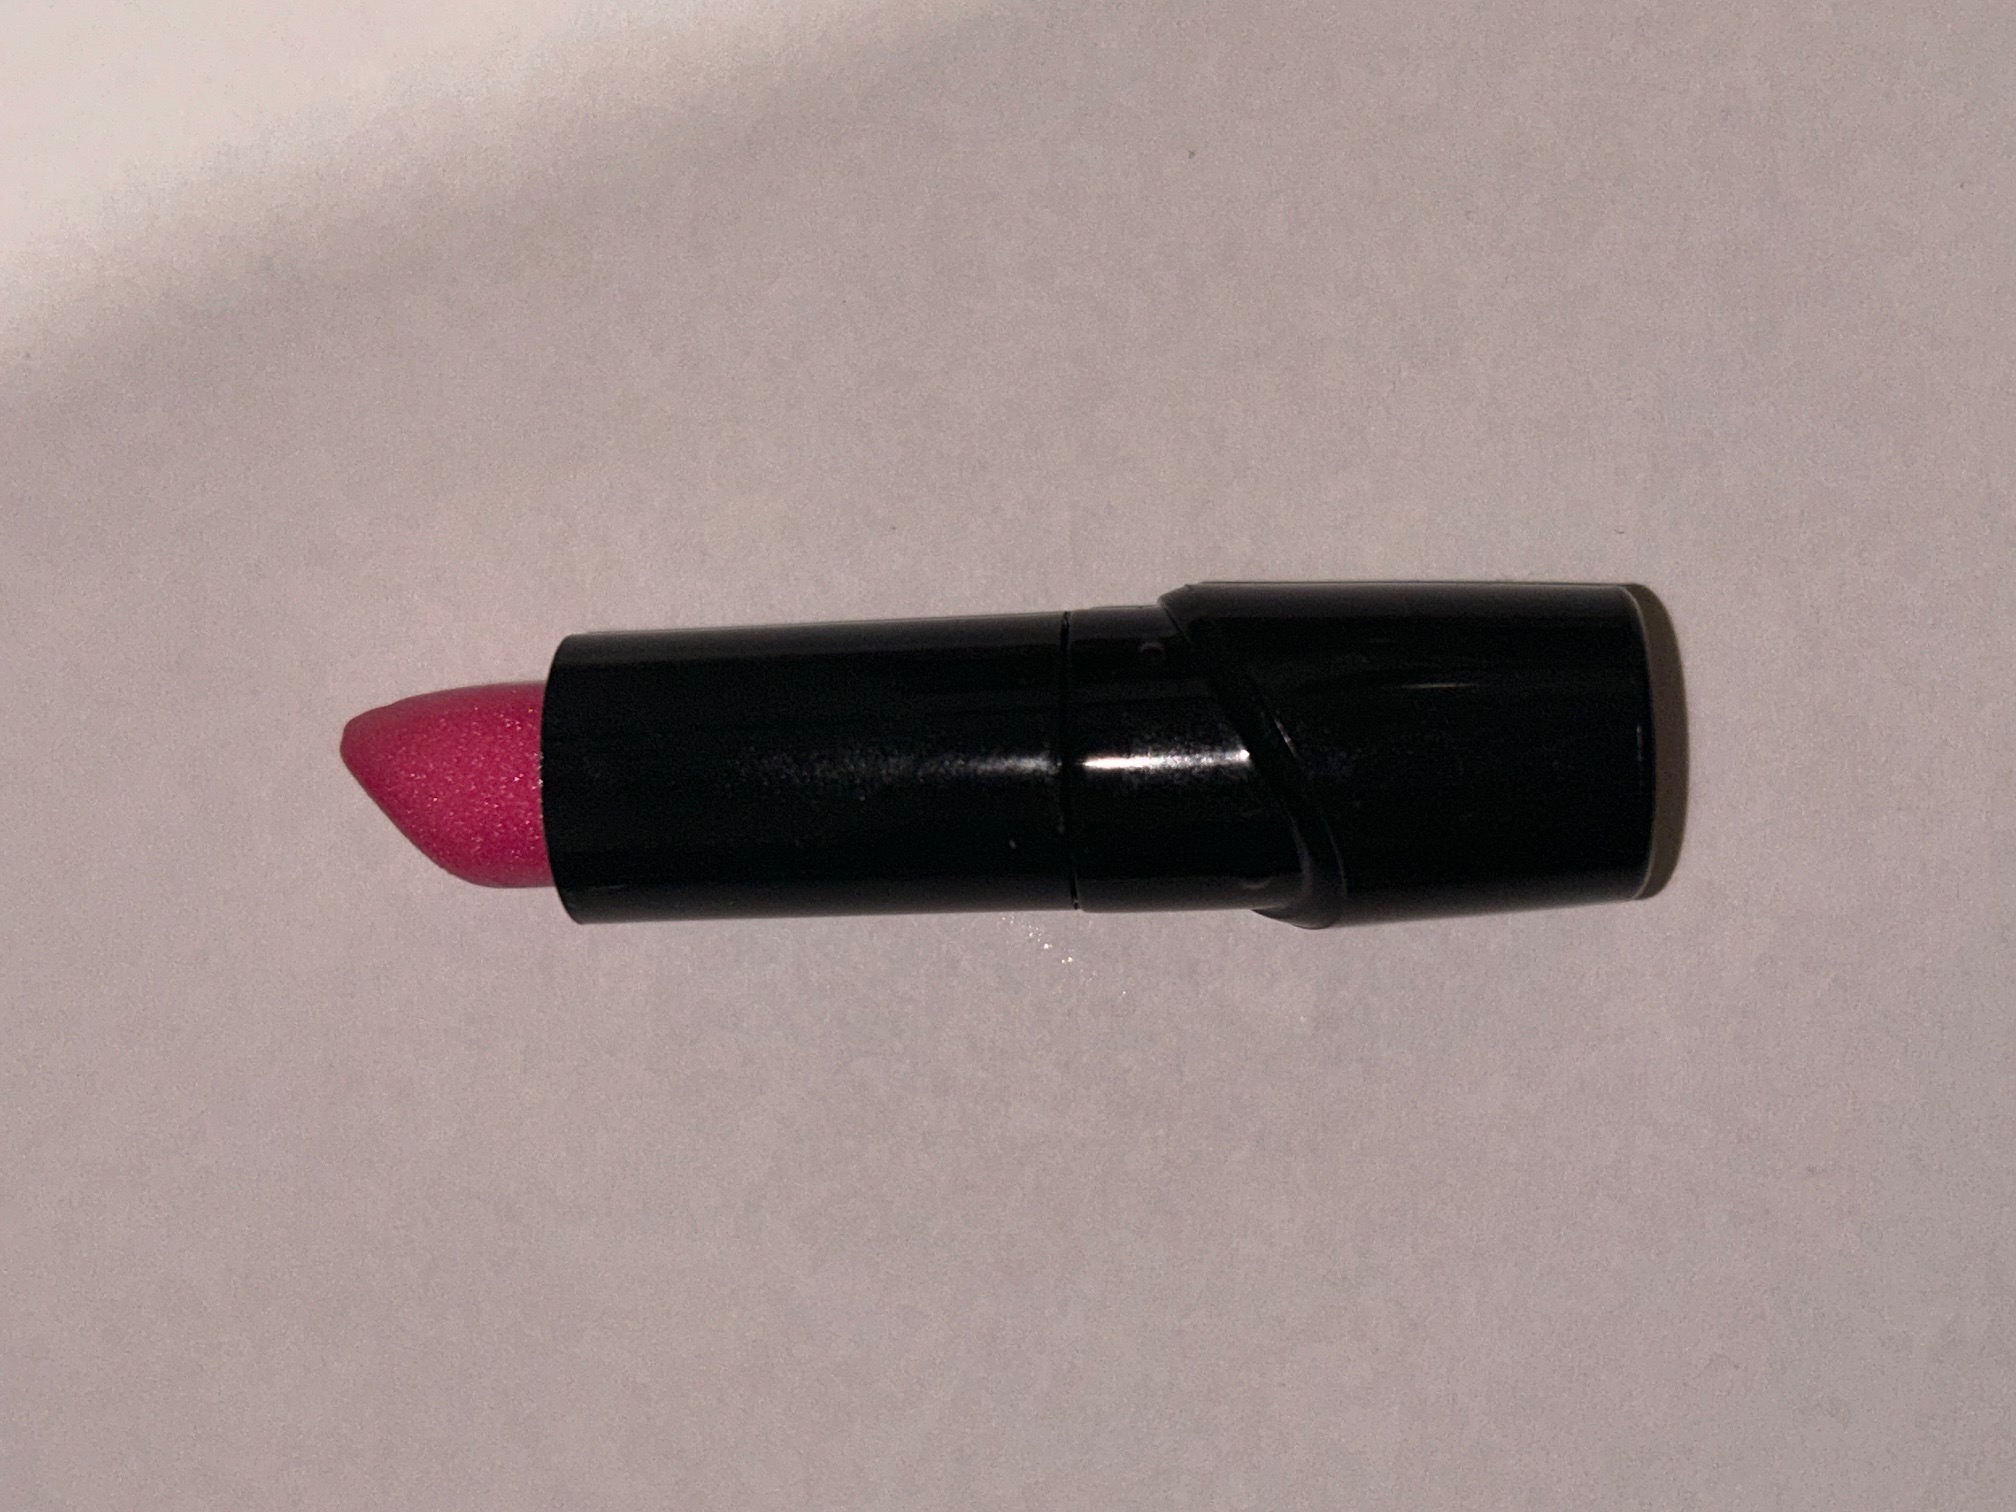
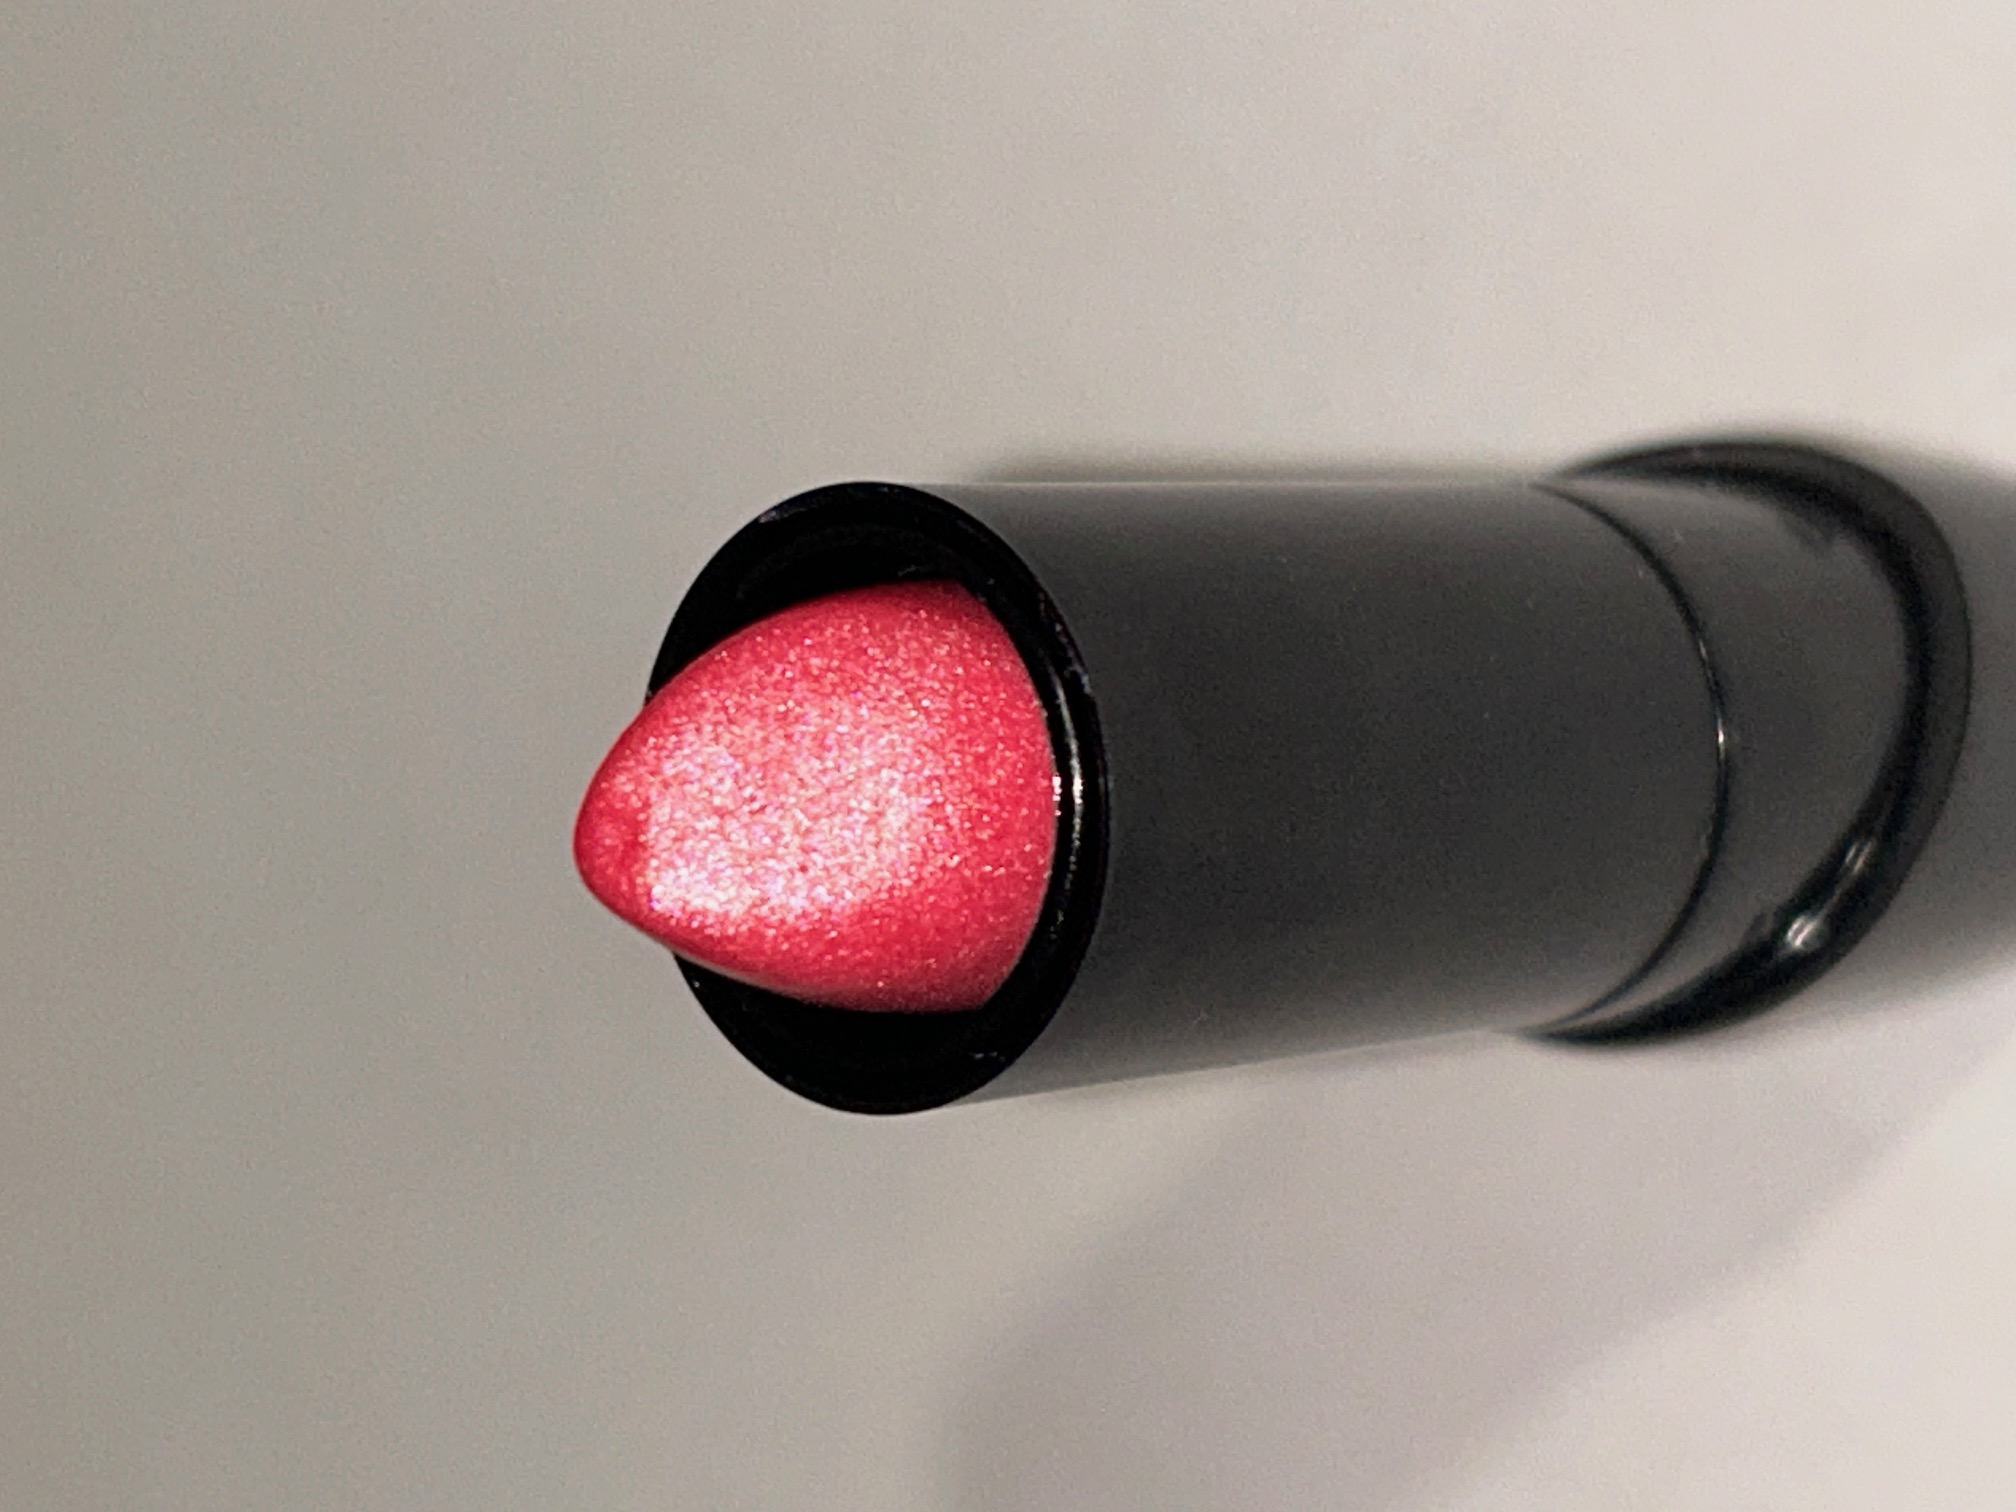
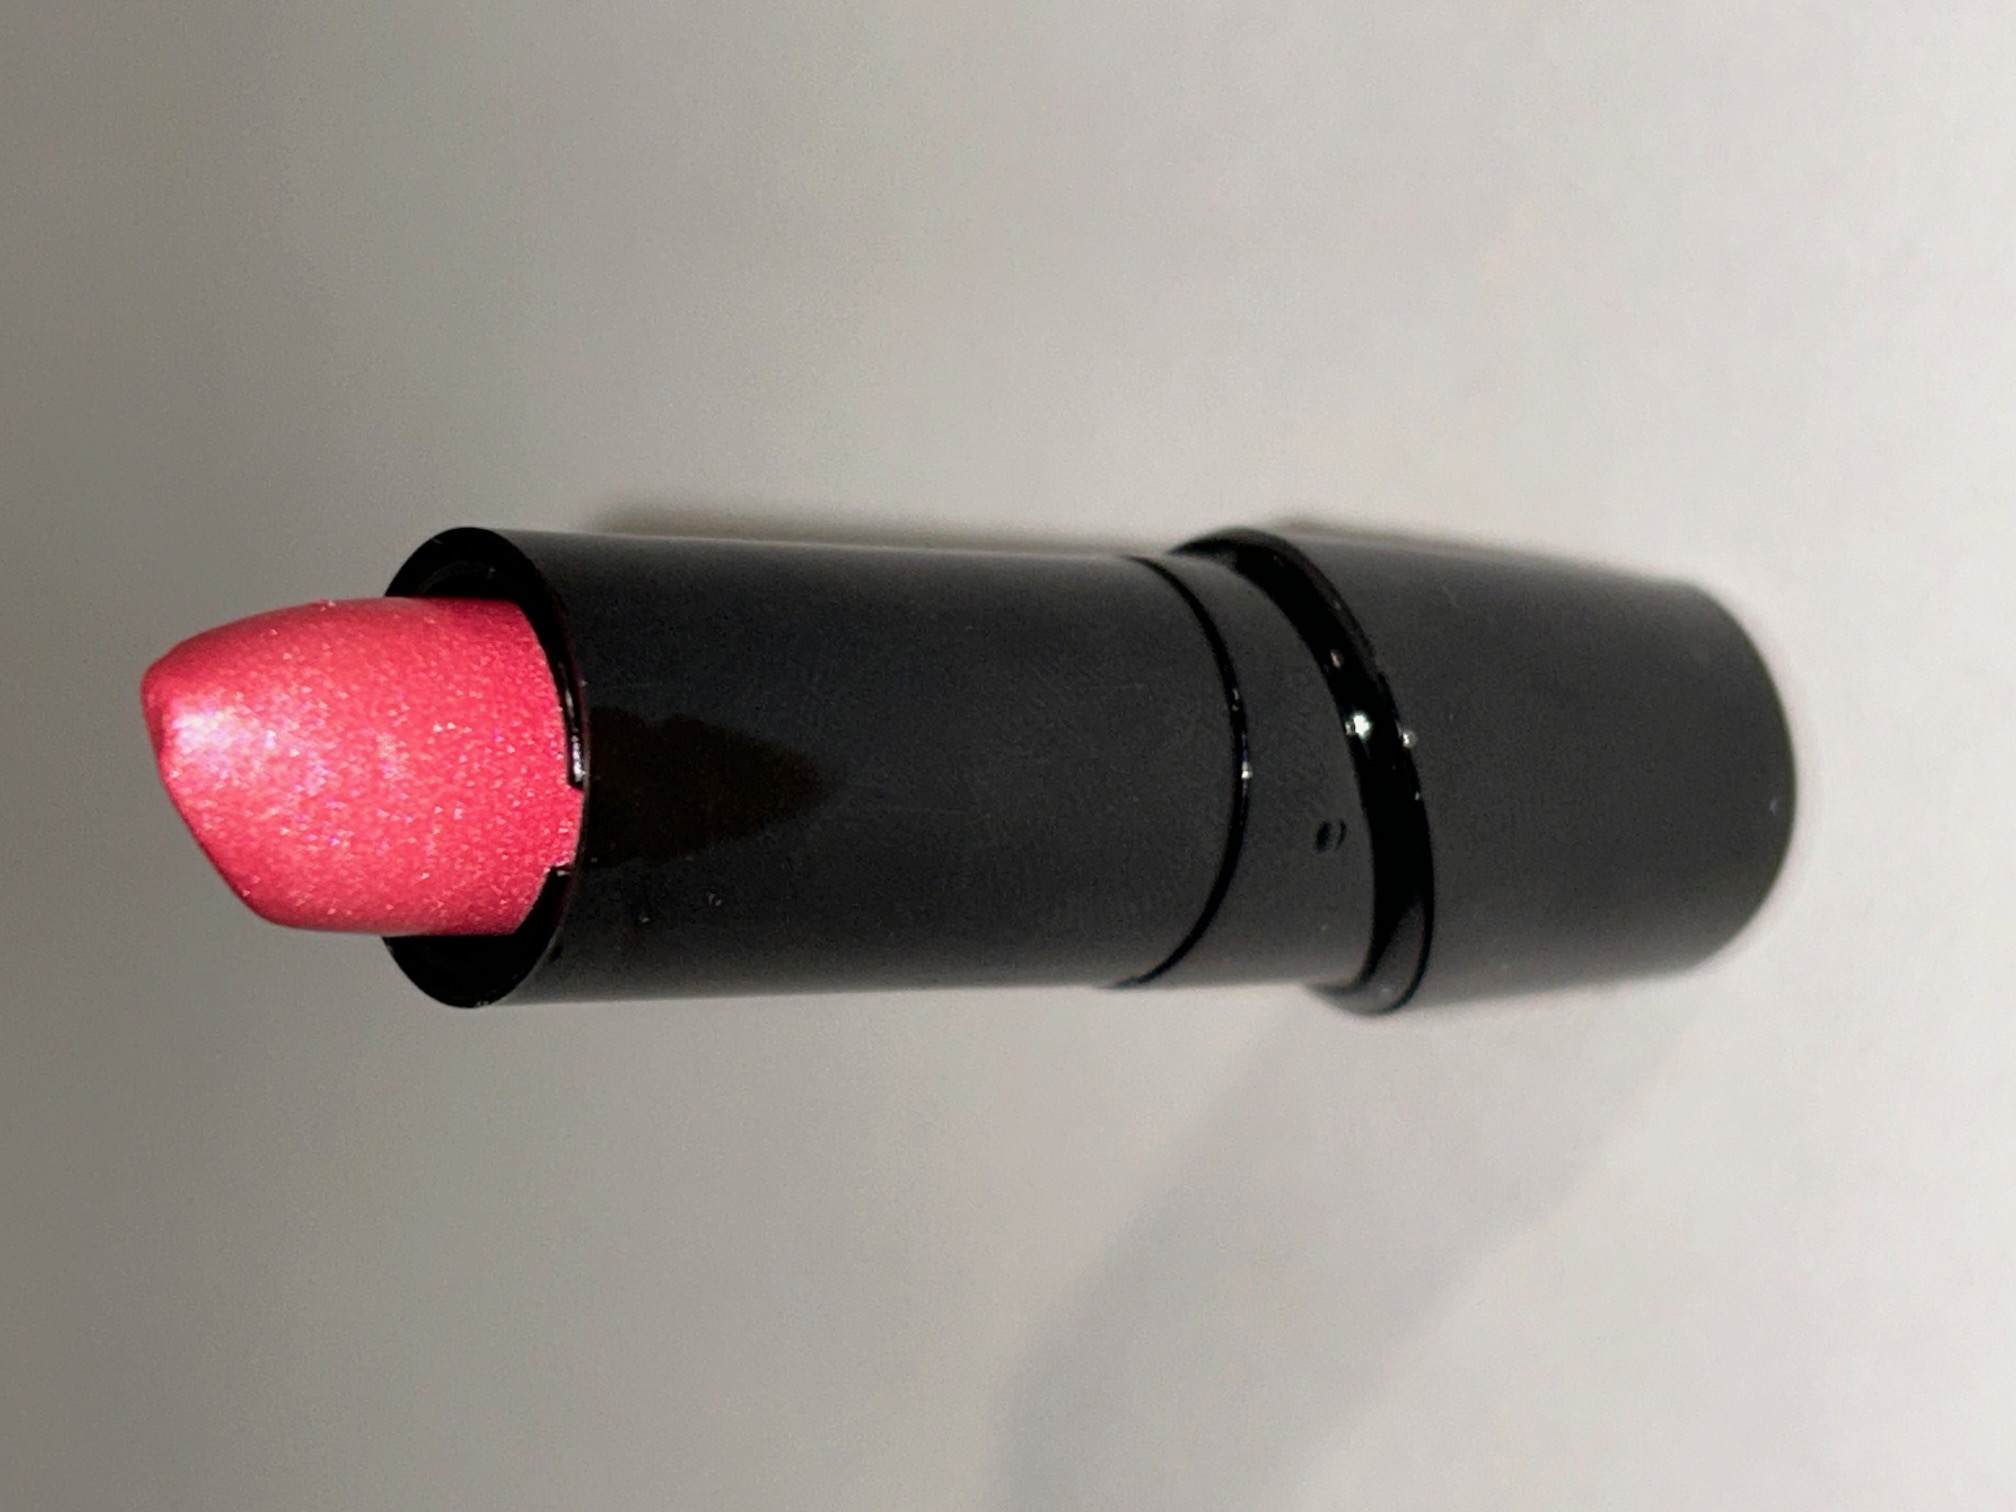
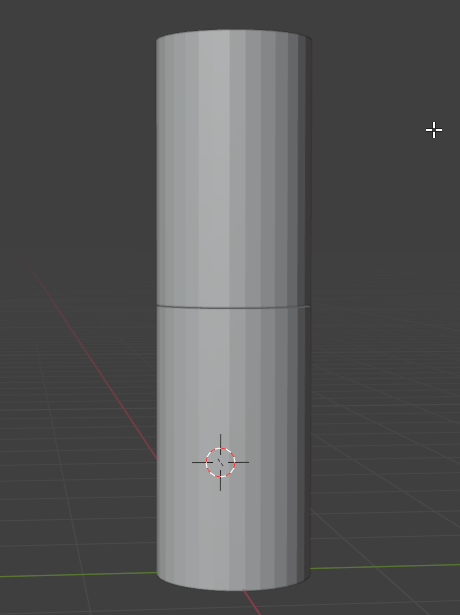
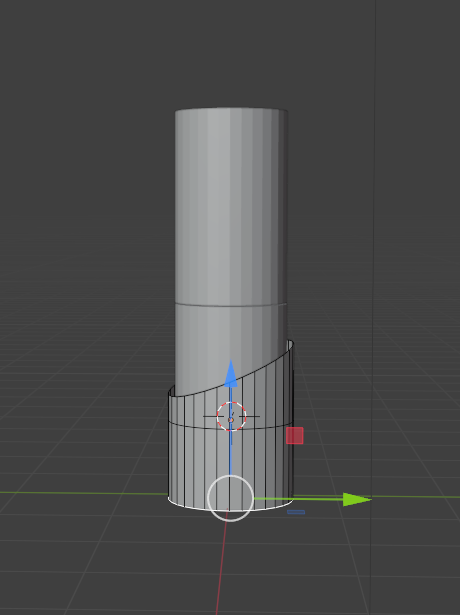
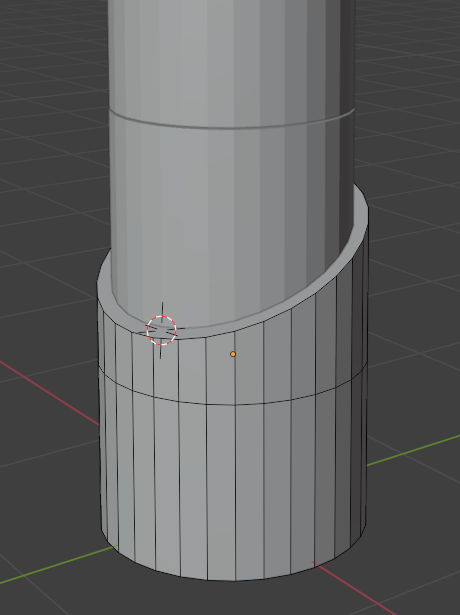
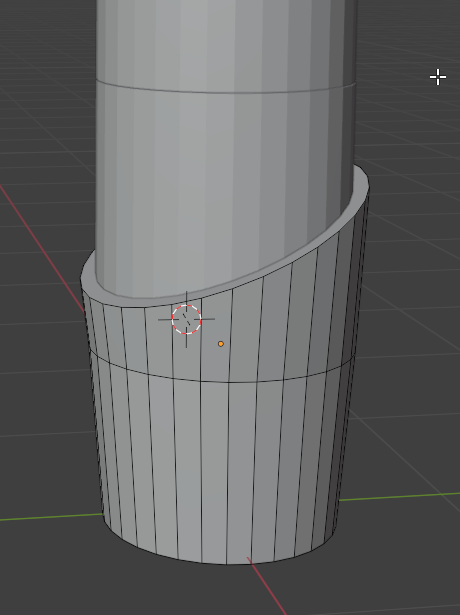
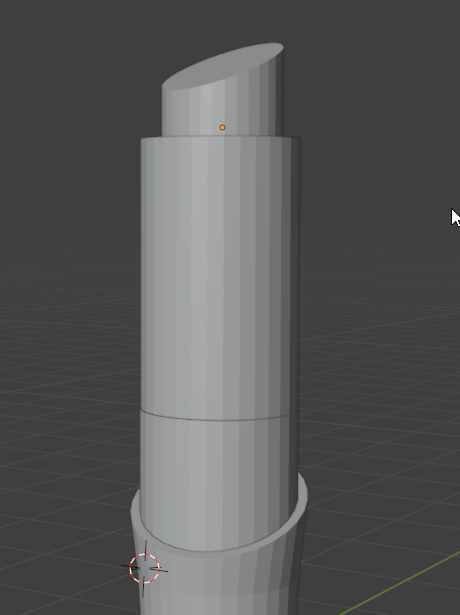
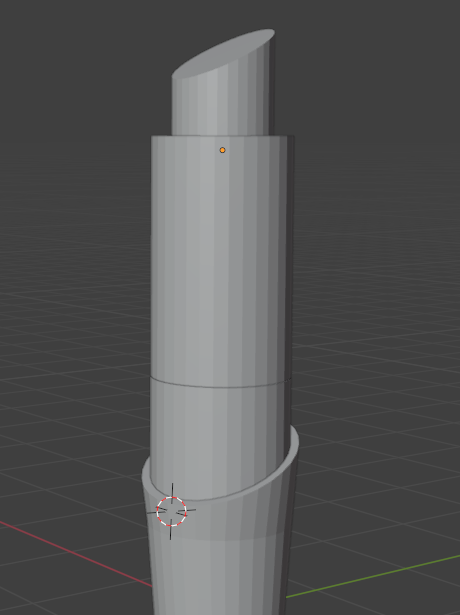
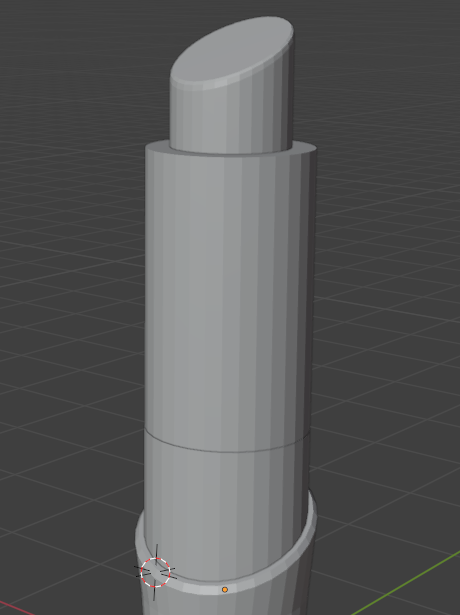
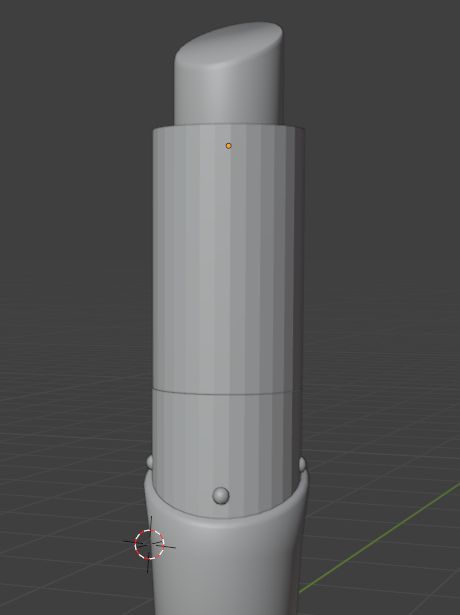
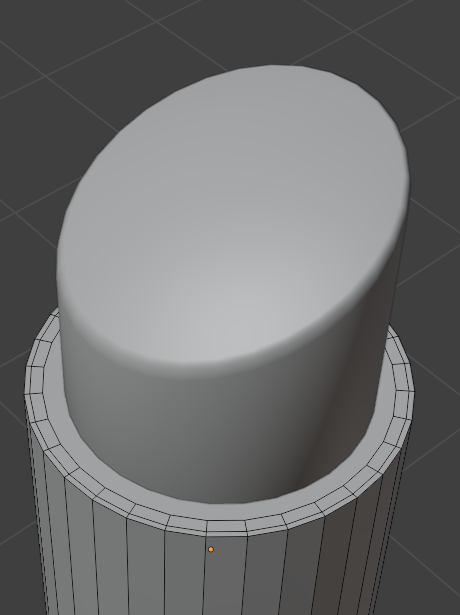
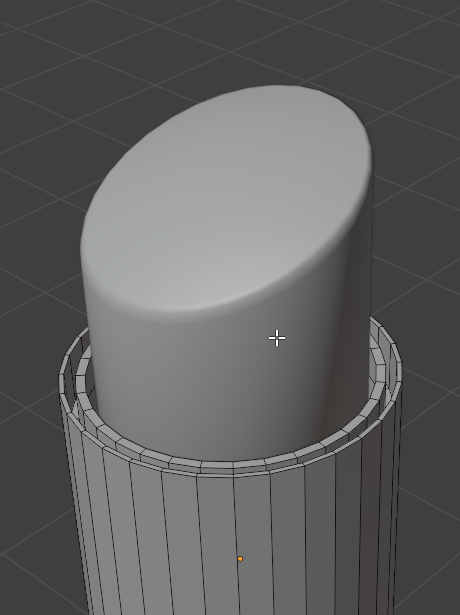
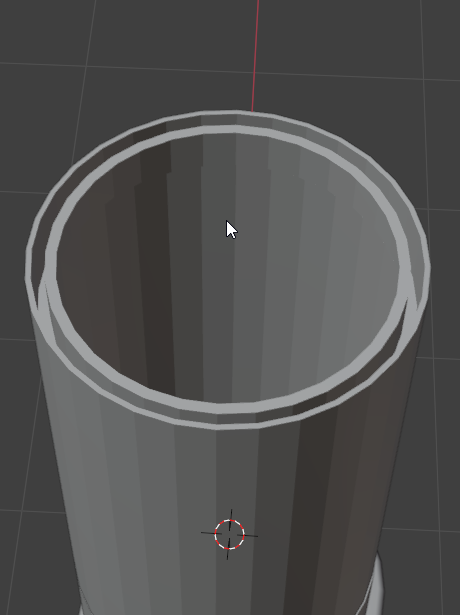
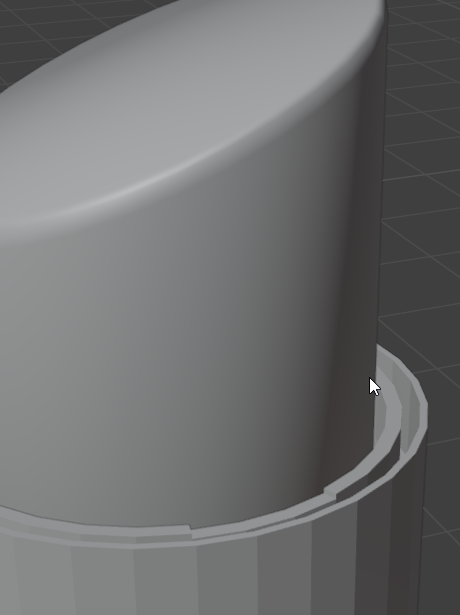
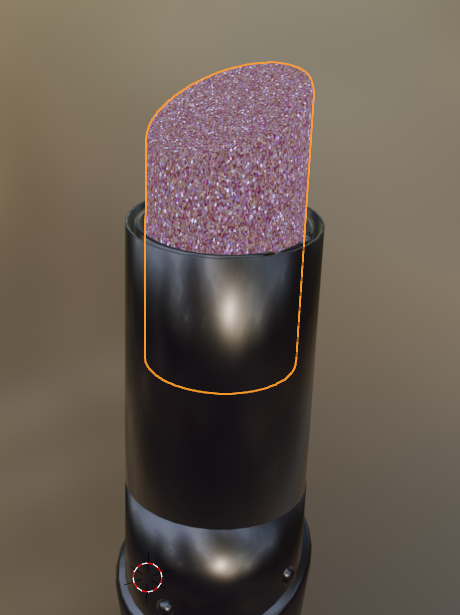
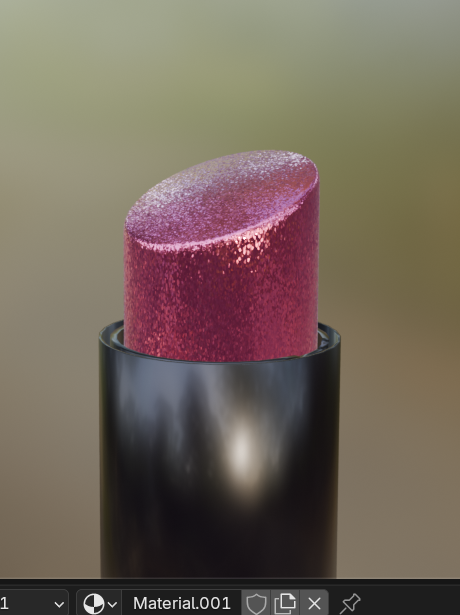
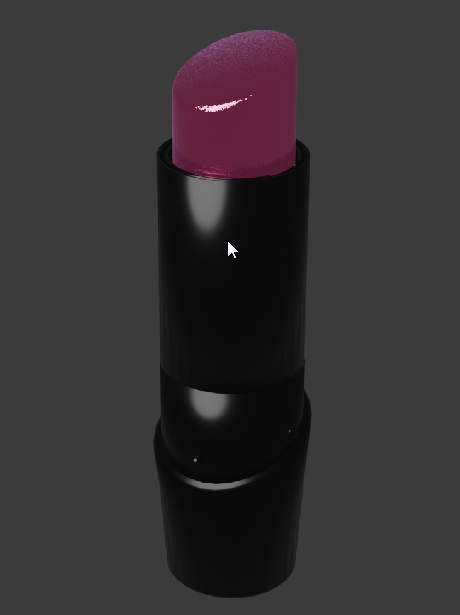
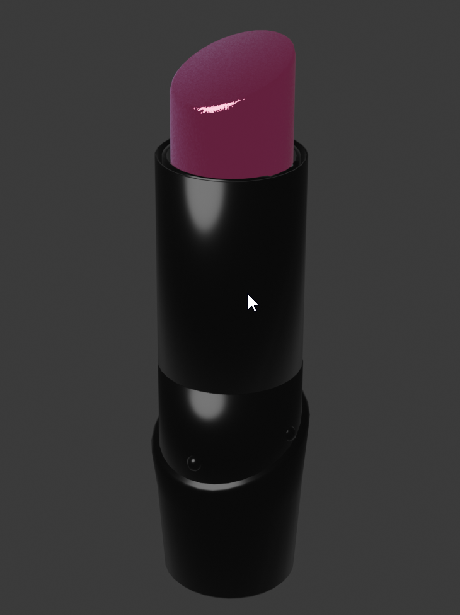
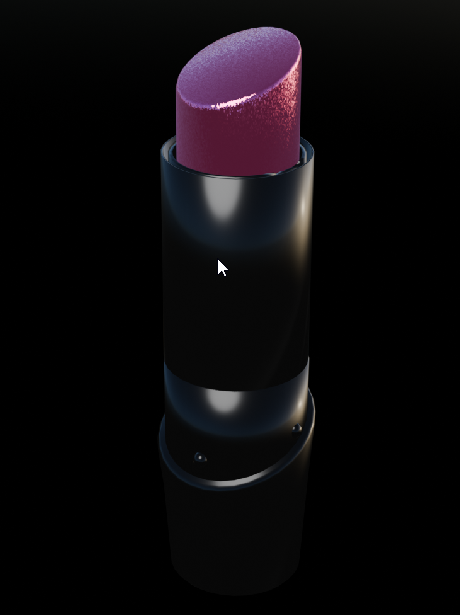
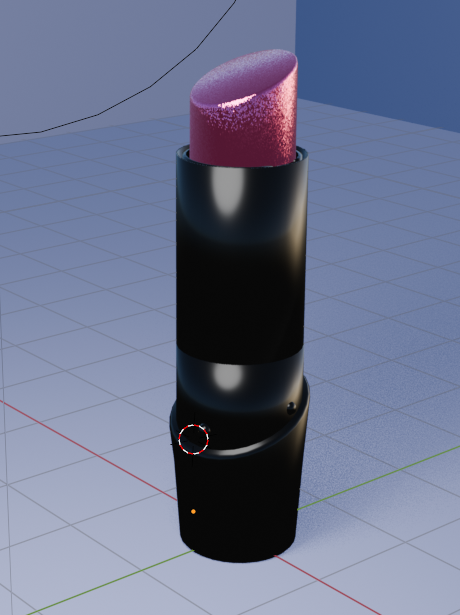
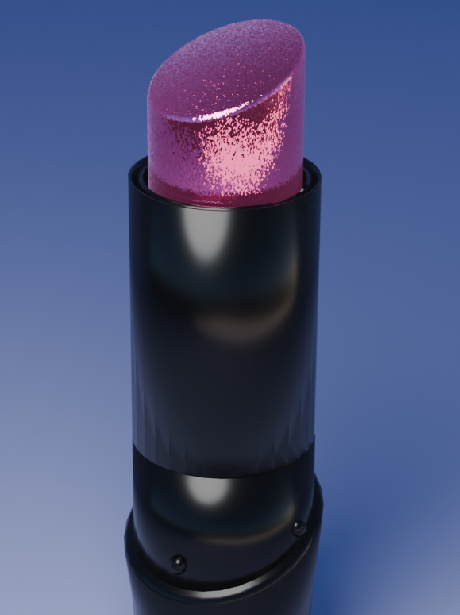
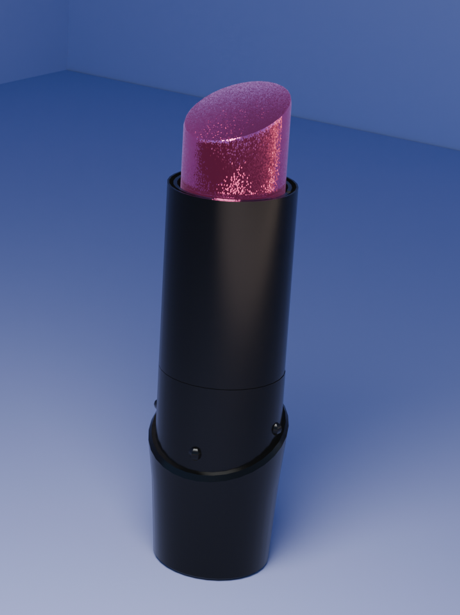
I started off this challenge by taking a few pictures to use for reference throughout it. This one displays the overall shape of the object without too much lighting reflecting off it This image has adequate lighting to understand how each material interacts with lighting. This image is especially helpful for studying how the glitter This image helps me better understand the relationship between each component of this lipstick. I can bring it into blender or cross-reference it on my monitor as well A close-up of the lipstick with heavy emphasis on the lipstick pigment. I noticed that the lipstick tends to glisten rather than shimmer and had a slight corally sheen to it as well put a description here or you will lose grades I started off my project with two cylinders of identical diameters I added a third cylinder and ensured it was at the midpoint with the rest of the cylinders. I made its diameter bigger and learned how to evenly slice through the object via YouTube tutorials I selected the edge of the cylinder (loop) as it was open, then I pressed F for a grid fill I scaled the edges and loops of this shape off the bottom, middle, and top of the cylinder to give it a tapering look I repeated the steps from the seventh and eighth images. I cut open the shape at an angle and filled the top with a face I was not happy with the angle I cut in the previous iteration, so I re-made the cylinder and cut it into a more dramatic angle I bevelled the lipstick part at the top as well as the bottom cylinder to better mimic the real object I switched the shading to smooth on the top cylinder as well as the bottom one to see how light would fall on it. I also added the three balls that would snap the lipstick's cover in place I started mapping out the top lip of the cylinder to mimic the real lipstick. I noticed that there were two lips. One was of the outer cover, and the other helped the lipstick spin upwards when you twist it After a few tries, I extruded the shapes successfully by selecting the appropriate faces This is a better view of the shape I ended up with. I ensured to keep as little faces as possible to attempt to optimize it I noticed that my lipstick had a little notch on the side of it and wanted to replicate it to recreate the original Now for my favourite part: creating a new material. I wanted to challenge myself and understand how others might create a glittery illusion. I started with a vornoi texture and messed with the amount of faces on it After following multiple tutorials, I was able to create this shimmery glitter on my lipstick. It took me a lot of tweaking to better understand how I wanted this lipstick to look This is me struggling with lighting. I am still very lost when it comes to lighting and need to keep practicing in order to get it right The second iteration of my lighting process. It still does not showcase how detailed the material of the lipstick is, but at least the plastic does not look too cartoony anymore I started messing with the lighting tab, and it all still seems super confusing to me. I am still mostly following YouTube tutorials at this stage Prepping the background for final rendering, as I have been spending a lot of time trying to perfect the lighting and will instead learn more in the next few weeks My first final render iteration. I also realised after running it in Cycles that I forgot to shade the object smooth before rendering. I otherwise am fairly content with the result, but feel I can do much better with a different camera angle My final render. I am overall very happy with how this object turned out. I feel more confident using Blender after years of hiatus. Thank you :D

Material Workshop 1

put a description here or you will lose grades<a href='https://www.youtube.com/embed/tgbNymZ7vqY' target='_blank'><p>Project Video Link</p></a> put a description here or you will lose grades <div class='container'><iframe class='responsive-iframe' src='https://www.youtube.com/embed/tgbNymZ7vqY'></iframe></div> put a description here or you will lose grades

Material Workshop 2

put a description here or you will lose grades <a href='https://www.youtube.com/embed/tgbNymZ7vqY' target='_blank'><p>Project Video Link</p></a> put a description here or you will lose grades <div class='container'><iframe class='responsive-iframe' src='https://www.youtube.com/embed/tgbNymZ7vqY'></iframe></div> put a description here or you will lose grades

Published 3D Models


Published 3D Model 1

A simple charging block model. I chose it for its simple cube body as well as for simple challenges to solve (e.g. how to bevel, extrude, and cut a hole in a shape)

A simple charging block model. I chose it for its simple cube body as well as for simple challenges to solve (e.g. how to bevel, extrude, and cut a hole in a shape) <div class='container'><iframe class='responsive-iframe' src='https://hudak.phoenix.sheridanc.on.ca/P1Stuff/Index.html'></iframe></div>

Published 3D Model 2

A glittery pink lipstick. I chose this object to learn how to slice an object evenly, create multiple extrusions at the top of the object, and to manage multiple components at once. I also learned a lot about materials and created a glitter texture with the help of YouTube videos. A simple charging block model. I chose it for its simple cube body as well as for simple challenges to solve (e.g. how to bevel, extrude, and cut a hole in a shape) <div class='container'><iframe class='responsive-iframe' src='https://hudak.phoenix.sheridanc.on.ca/P1Stuff/Index.html'></iframe></div>

Published 3D Model 3

PLACEHOLDER TEXT, put a description here or you will lose grades put a description here or you will lose grades <div class='container'><iframe class='responsive-iframe' src='https://hudak.phoenix.sheridanc.on.ca/P1Stuff/Index.html'></iframe></div>
×

Powered by w3.css